
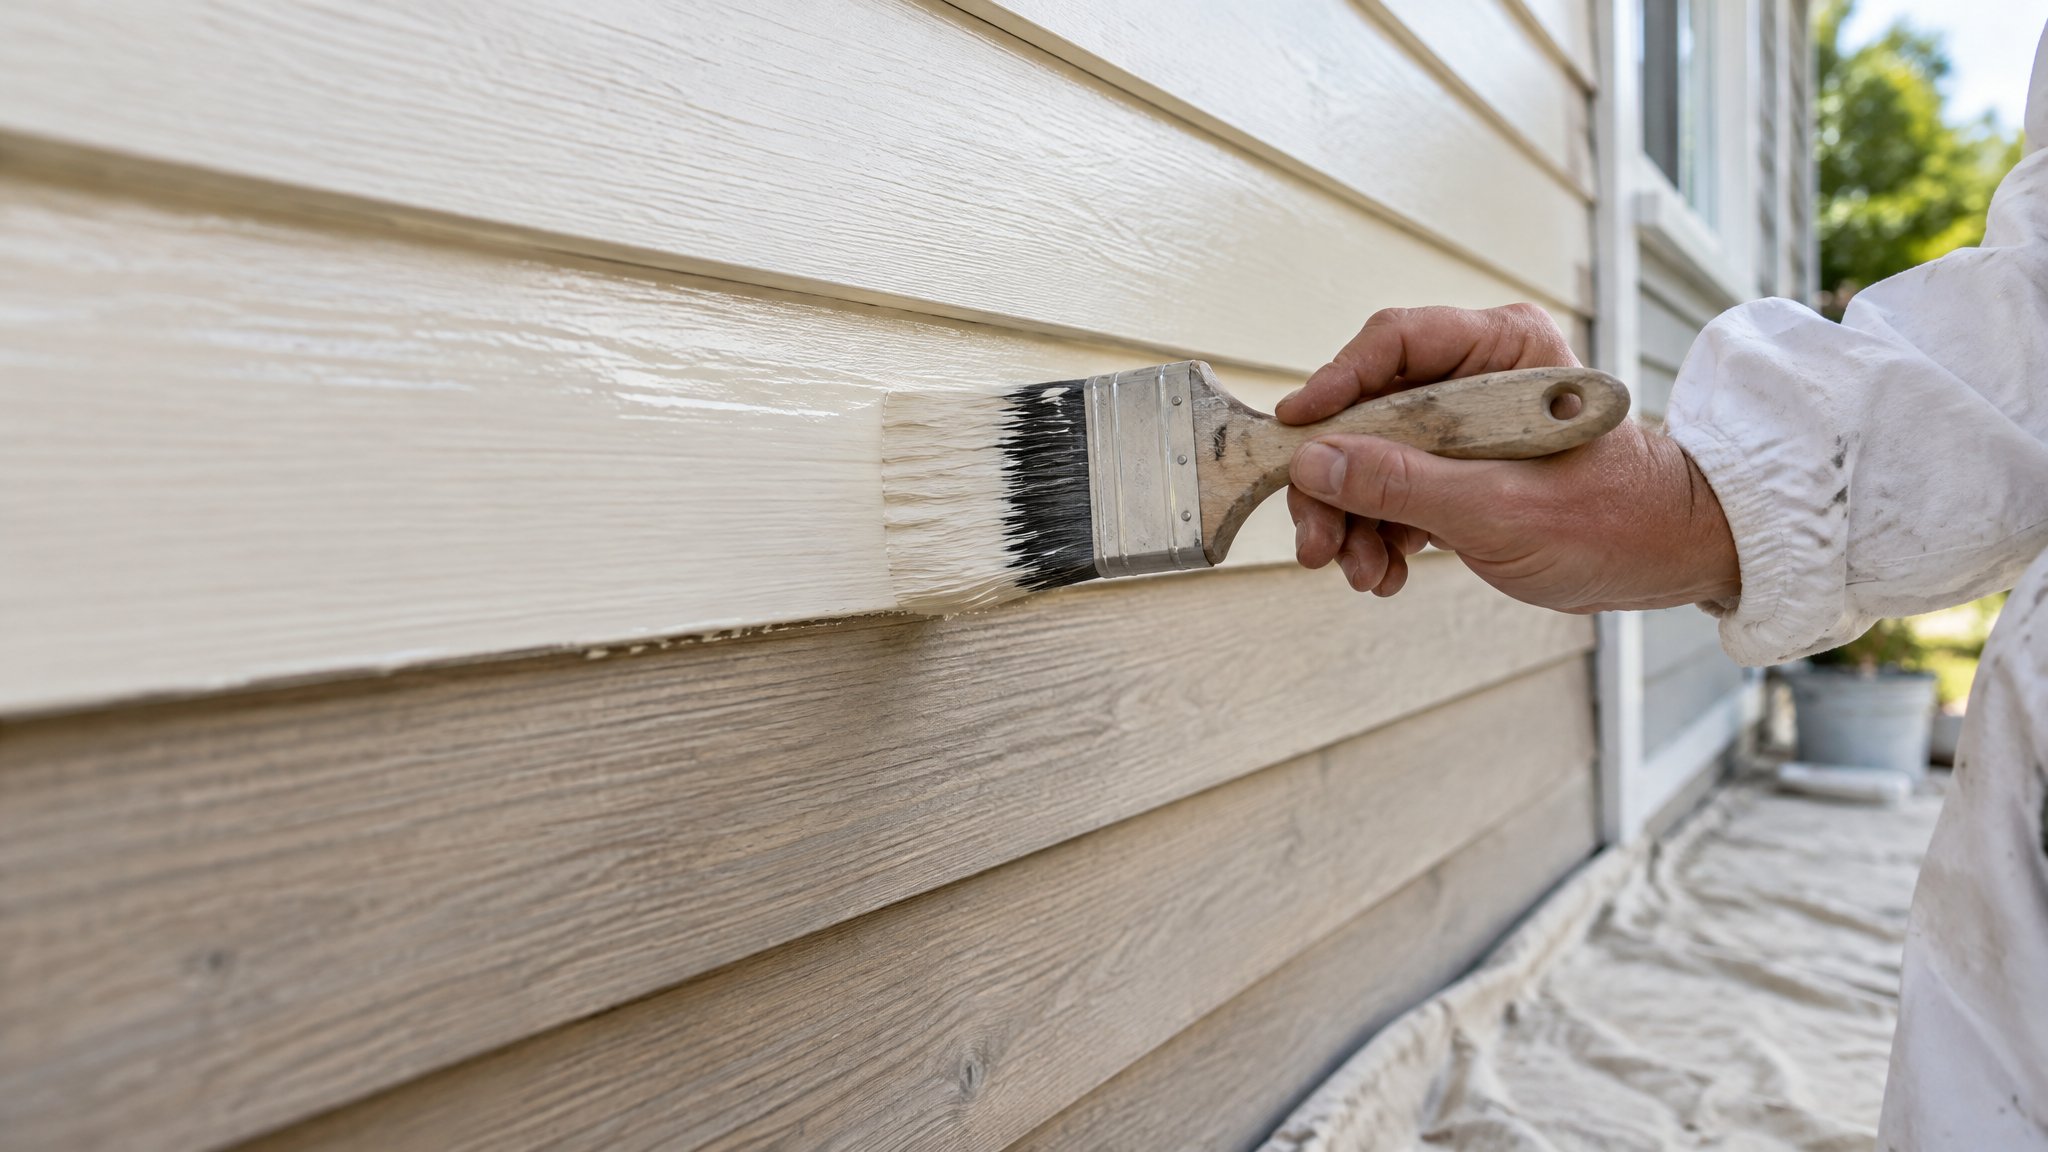
Timber joinery can look beautiful for decades, but only if it is prepared properly before repainting. Whether you are dealing with weathered window frames, tired architraves, or peeling exterior timber, the key is not just sanding hard — it is sanding the right areas to create a sound surface for the new coating.
In Auckland’s damp, sunny, salty conditions, timber joinery often needs a careful approach. Done well, repainting protects the timber and gives a crisp finish. Done badly, the paint can lift early, the grain can telegraph through, and moisture can get in behind the coating.
Start with a proper inspection and clean-down
Before you pick up sandpaper, inspect the joinery closely. Look for peeling paint, soft timber, splits, failed filler, open joints, and signs of water ingress around sills, corners, and glazing. If the timber is rotten or moving, sanding alone will not fix it.
Wash the surface first to remove dirt, cobwebs, mildew, salts, and chalky residue. A mild detergent wash and clean water is usually enough for sound paintwork. Let everything dry fully before sanding, because sanding damp timber can clog the abrasive and give poor results.
If there is old loose paint, scrape it back to a firm edge before sanding. The aim is to remove anything unsound and feather the edges so the transition between old and new paint is smooth.
- Check for rot, cracks, lifting paint, and failed sealant
- Clean off dirt, mildew, and chalky residue first
- Scrape loose paint back to a firm edge before sanding
- Allow timber to dry thoroughly before priming
Sand for adhesion, not to strip every millimetre
The best way to sand back timber joinery is usually a staged approach. Use medium-grit abrasive to flatten edges, remove sheen, and key sound paint. Then finish with a finer grit to smooth the surface and reduce scratch marks. For most repainting jobs, you are not trying to bare timber everywhere — you are creating a stable, keyed surface that the new paint can grip.
On detailed joinery, hand sanding is often better than heavy machine sanding because it gives more control around mouldings, beads, and corners. Random orbital sanders are useful on flatter sections, but they can easily round sharp details if you press too hard.
Always sand in the direction of the timber grain where possible. This helps avoid visible scratches and gives a cleaner final finish. After sanding, remove all dust carefully with vacuuming and a tack cloth or slightly damp microfibre cloth.
- Use medium grit first, then finer grit for finishing
- Hand sand detailed profiles and corners
- Sand with the grain where possible
- Remove all dust before priming
Prime, fill, and paint with the right system
Once the joinery is clean and keyed, spot-prime any bare timber straight away. Bare timber can absorb moisture quickly, so it should not be left exposed. Use a primer suited to the existing coating and the condition of the timber, especially if there are tannin-prone species or patch repairs.
Fill minor dents, open nail holes, and small gaps with a suitable flexible filler after priming, then sand those repairs back lightly once dry. For exterior timber joinery, check sealants around glass, mitres, and joints. If the sealant has failed, it should be renewed so water cannot get behind the paint film.
Apply the finish coats evenly and avoid over-brushing, especially on warm Auckland afternoons when paint can start to drag. Two proper finish coats are usually better than one heavy coat, giving better coverage and durability.
When to call Steve
If your timber joinery has widespread peeling, soft spots, recurring moisture issues, or a paint build-up that is too thick to manage safely, it is worth getting professional advice before you start. Steve is a Kiwi and a trade-qualified painter, and he can assess whether the timber needs repair, spot-stripping, full sanding, priming, or a complete repaint system. That is especially helpful for older Auckland homes where the original joinery may have delicate profiles or ongoing weather exposure.
If you want a neat, durable finish without the guesswork, contact Steve, a Kiwi and a trade-qualified painter, for practical advice or to take care of the job properly.
Frequently Asked Questions
Do I need to sand timber joinery back to bare wood before repainting?
Not always. If the existing paint is sound, the best approach is often to scrape loose paint, sand for adhesion, and spot-prime bare areas rather than stripping everything back.
What grit sandpaper should I use on timber windows and trim?
A medium grit is usually used first to remove sheen and feather edges, followed by a finer grit for smoothing. The exact choice depends on the condition of the joinery and the profile detail.
Why does timber joinery keep peeling after repainting?
Peeling is often caused by poor prep, moisture getting into the timber, failed sealant, or painting over dust or glossy surfaces. A proper clean, sand, prime, and seal is essential.
Need a hand with your project?
Happy to tackle some of it yourself? Great — but for anything you’d rather leave to a professional, Steve Lunjevich is a Kiwi and a trade-qualified painter with 20+ years’ experience. Call or email for honest advice or a free, no-obligation quote.