
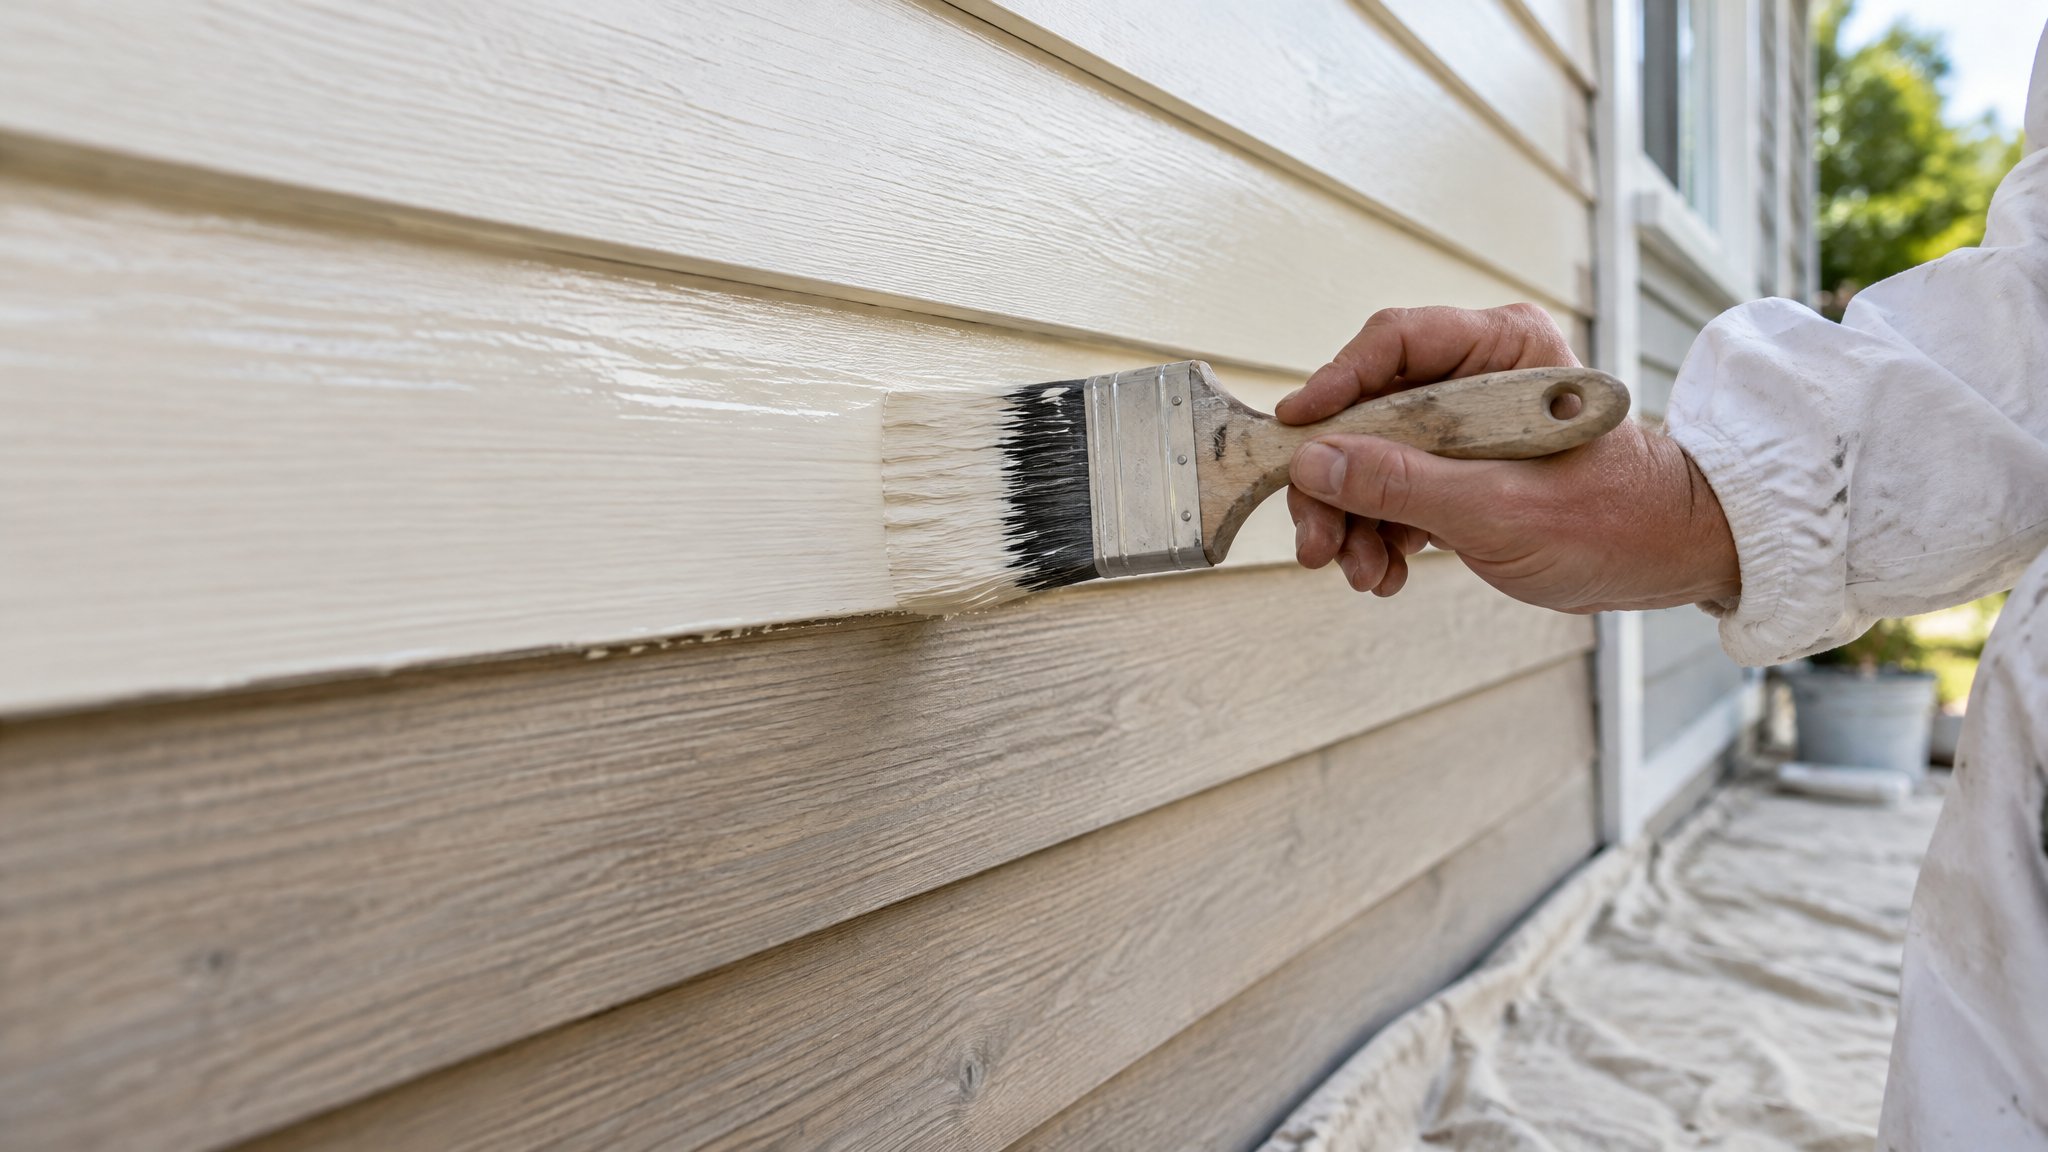
Old varnish on interior timber can make paint fail if it is not properly prepared. If you want a smooth, durable finish on doors, trims, skirting boards or window frames, the old coating needs to be assessed first, not just painted over.
The right approach depends on the condition of the varnish, the type of timber, and how smooth you want the final finish to be. In many Auckland homes, especially older villas and character properties, careful prep is the difference between a tidy result and peeling paint later on.
Start by checking what you are dealing with
Before you reach for sandpaper, inspect the timber closely. If the varnish is sound, lightly worn and well-bonded, you may not need to remove every trace of it. If it is flaking, cracking, lifting, or has a glossy finish that paint will struggle to grip, more thorough removal is usually needed.
Test a small hidden area first. Wipe it clean and try gentle sanding. If the surface powders evenly and dulls down, prep may be straightforward. If the varnish gums up the paper or stays shiny in spots, you may need a stripper or a more detailed sand-back.
- Look for peeling, blistering or soft patches
- Check corners, mouldings and joins where varnish often fails first
- Identify whether the timber is solid wood, veneer or MDF trim before you start
Methods for removing old varnish safely
For many interior timber surfaces, a combination of chemical stripping and sanding gives the best result. Apply a suitable paint and varnish stripper according to the label, allow it to soften the coating, then remove the loosened finish with a scraper. Work with the grain and avoid digging into the timber.
Once the bulk of the varnish is off, sand the surface to remove residue and smooth out scratches. Start with a medium grit and finish with a finer grit for a paint-ready surface. On detailed profiles, use sanding sponges or folded paper so you can reach corners without rounding over the edges.
If the varnish is thin and in reasonable condition, you may be able to dull it back with thorough sanding rather than full stripping. That said, a glossy surface can still cause adhesion issues, so do not skimp on prep.
- Ventilate the room well and use gloves and eye protection
- Protect floors, furniture and adjacent painted surfaces
- Vacuum dust thoroughly before priming
- Avoid over-wetting timber, which can raise the grain
Clean, prime and prep for paint
After stripping or sanding, remove every trace of dust and residue. Any stripper left behind can interfere with adhesion. Wipe down the timber with a suitable cleaner, then let it dry fully before priming.
Use a quality primer designed for timber and for the condition of the substrate. Bare timber, patches of exposed wood and areas with old stain or tannin may need a stain-blocking primer. This helps prevent bleed-through and gives your topcoats a more even base.
Fill dents, nail holes and small gaps with the right filler, then sand lightly once it is dry. A careful final check under good light will show up any shiny patches, missed varnish, or rough edges before you start painting.
When to call Steve
If the timber has multiple old coatings, awkward profiles, or visible damage, it is often worth getting professional help. Stripping varnish from interior joinery can be time-consuming, messy and easy to get wrong if you want a crisp finish.
Steve is a Kiwi and a trade-qualified painter who can assess whether the existing varnish should be stripped, sanded back or sealed and primed another way. He can also advise on the best system for your specific timber, whether it is a front door, stair trim, window frame or full interior repaint.
If you are in Auckland and want a proper result without the hassle, contact Steve, a Kiwi and a trade-qualified painter, for practical advice or a quote.
Frequently Asked Questions
Can I paint directly over old varnish?
Sometimes, yes, if the varnish is sound and you properly degloss, clean and prime it. But if it is peeling, glossy or uneven, you will usually get a better result by removing or sanding it back first.
What is the easiest way to remove varnish from timber trim?
For most interior timber, the easiest reliable method is a controlled strip with a suitable product followed by sanding. For small areas, sanding alone may be enough if the finish is still well bonded.
How do I know if I have removed enough varnish?
The surface should be clean, dull and evenly prepared, with no shiny patches or loose coating left behind. If you can still see glossy areas in the light, keep sanding or stripping before priming.
Need a hand with your project?
Happy to tackle some of it yourself? Great — but for anything you’d rather leave to a professional, Steve Lunjevich is a Kiwi and a trade-qualified painter with 20+ years’ experience. Call or email for honest advice or a free, no-obligation quote.