
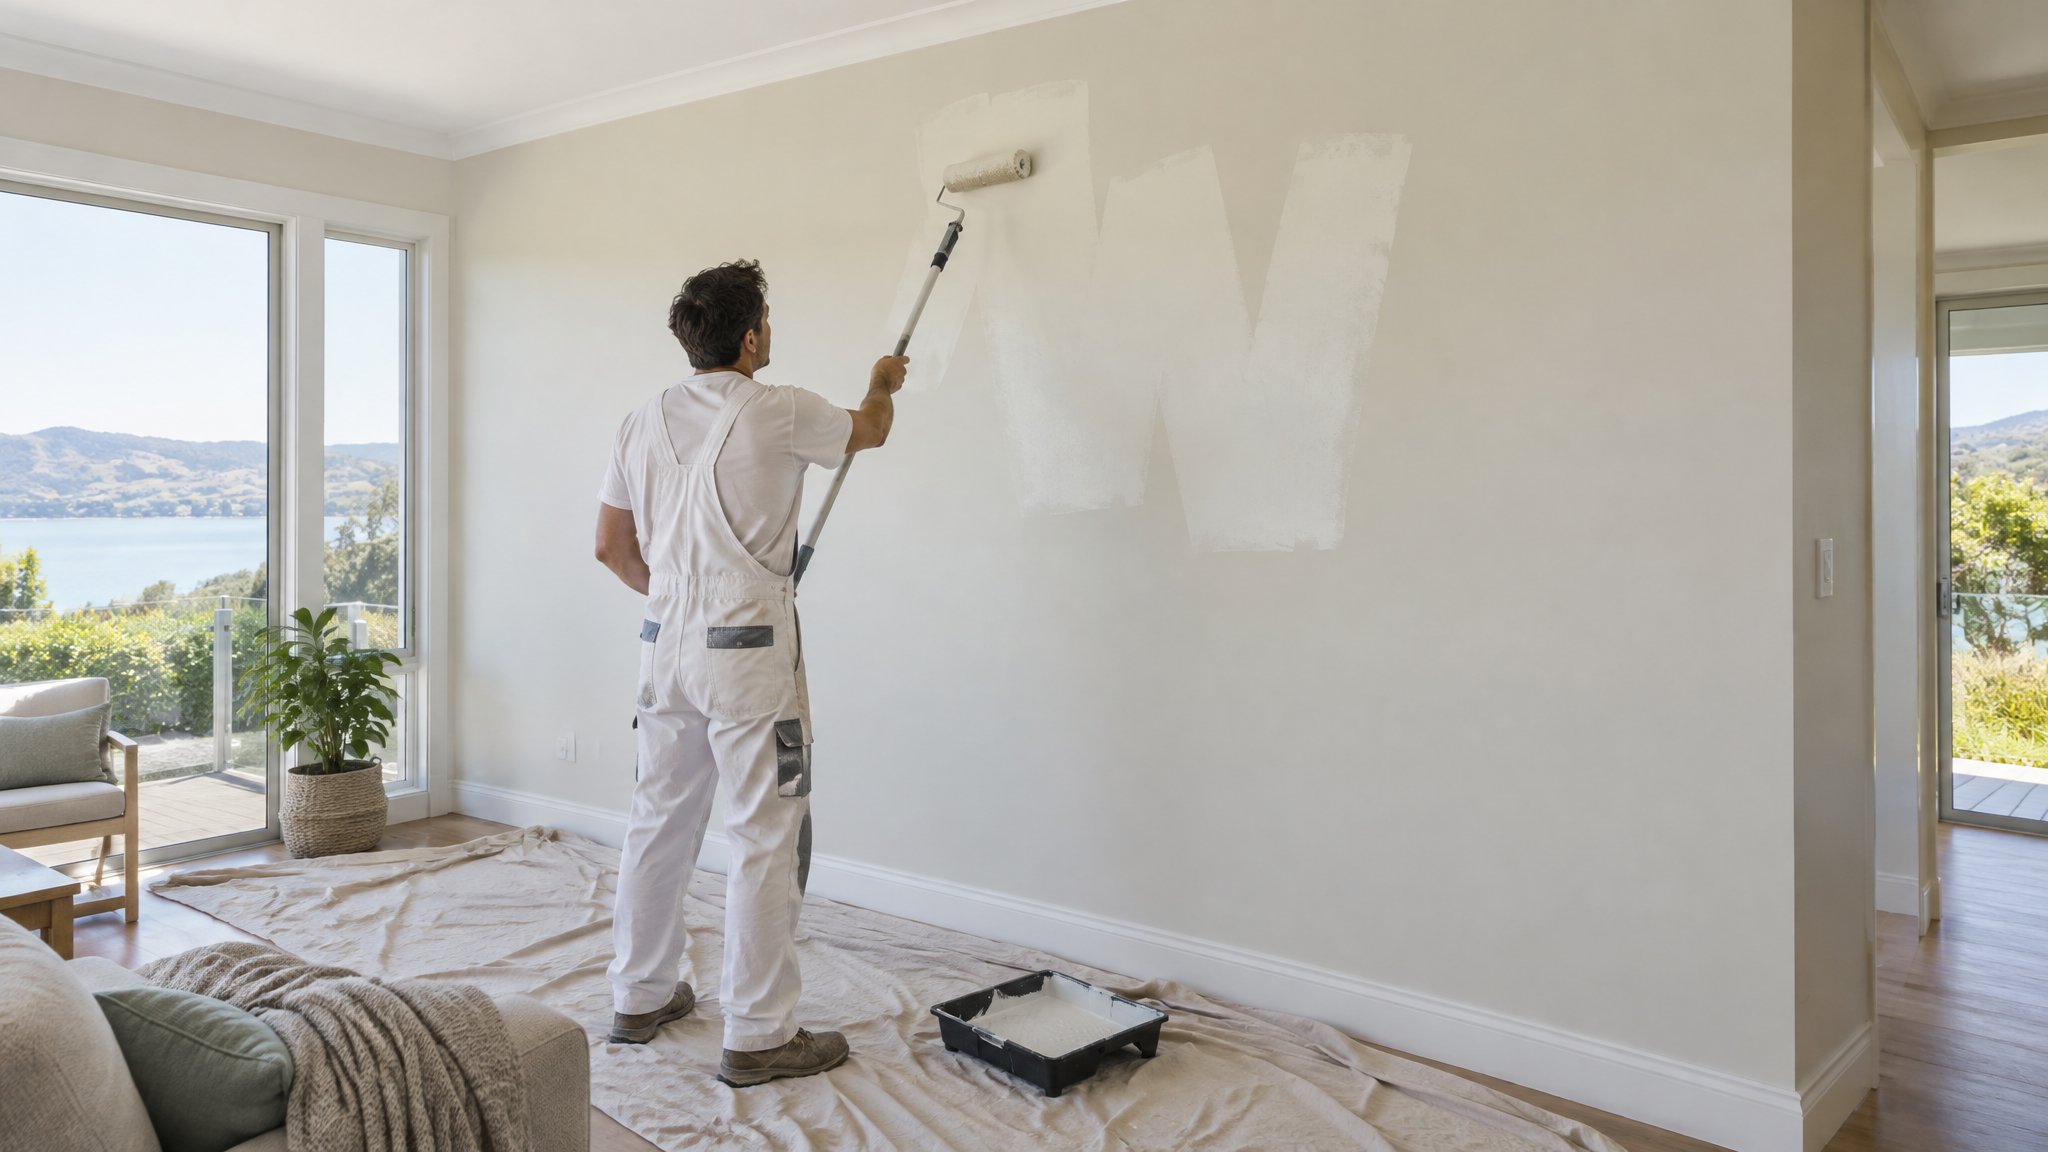
A level 5 finish is what you want when the ceiling needs to look smooth under strong light, downlights or a pale paint colour. It is the most refined plaster finish, and it shows every shortcut if the preparation is rushed.
If you are preparing a Gib ceiling in Auckland, the key is to treat the substrate, the joints and the surface as one system. Good preparation makes the final paint job look crisp, even and professional.
Start with the ceiling structure and board finish
Before any stopping begins, check that the Gib sheets are fixed properly, with no movement, proud screws or damaged edges. A level 5 finish will only look as good as the lining beneath it, so any loose fixings or bumps need sorting first.
Make sure all screws are set just below the paper face, but not so deep that they break the paper. Check joints, corners and penetrations for gaps. If there are visible defects, they should be repaired before stopping starts.
Clean the ceiling surface so it is free from dust, cobwebs and loose material. If the ceiling has been touched with bare hands or has contamination from construction work, wipe it down carefully. Cleanliness matters because dust can weaken adhesion and make sanding harder later.
- Check all screws are correctly recessed
- Repair damaged paper faces and board edges
- Remove dust, plaster crumbs and loose debris
- Seal any gaps before stopping begins
Stop, sand and seal for a level 5 result
A level 5 finish usually means a standard level 4 plaster finish, followed by a full skim coat or coating system across the entire ceiling. This reduces the chance of flashing and helps the surface look uniform in changing light.
Use the correct jointing compound and apply tape and base coats neatly over all joints, internal corners and fixings. Let each coat dry fully before applying the next one. Rushing the drying time often leads to shrinkage, pinholes and sanding marks.
Once the stopping is complete, sand carefully with the right grit and lighting. Use a pole sander and work systematically so you do not create hollows or ridges. Check the ceiling with a strong side light if possible, because imperfections are much easier to see before priming than after painting.
After sanding, remove all dust again and apply the recommended sealer or primer. This step is essential on fresh Gib and stopped areas because it evens out porosity and helps the topcoat lay down smoothly.
- Apply tape and stopping in thin, even coats
- Allow proper drying time between coats
- Sand under good light to catch imperfections
- Prime or seal before topcoating
Common mistakes that ruin a smooth ceiling
The most common problem is trying to paint over an uneven stopping job and expecting the paint to hide it. Paint will not disguise ridges, trowel marks, screw pops or poorly feathered joins, especially in bright Auckland homes with open-plan living and plenty of natural light.
Another issue is over-sanding one spot and under-sanding another. That leaves patchy gloss and texture differences after painting. It is also easy to miss dust in corners, which can affect adhesion and leave a gritty finish.
If the room has been freshly plastered, allow the ceiling to dry properly before priming. Moisture trapped in the system can cause adhesion issues or patchy colour later on.
When to call Steve
If you want a truly smooth level 5 finish, or you are unsure whether the Gib ceiling is ready for paint, it is worth getting professional advice before you start. Steve is a Kiwi and a trade-qualified painter, and he can assess the ceiling, spot defects early and recommend the right preparation method for your home or project.
For premium interiors in Auckland suburbs like Remuera, Ponsonby, Parnell or Devonport, the difference between a good finish and a great one is usually in the preparation. Steve can help with ceiling prep, priming and painting so the result looks clean, even and durable.
Frequently Asked Questions
What is a level 5 finish on a Gib ceiling?
A level 5 finish is the highest standard of plaster finish, where the ceiling is fully prepared so it looks smooth and uniform under strong light. It is often used for high-end interior painting.
Do I need to skim the whole ceiling for a level 5 finish?
Yes, in most cases a level 5 finish involves more than just stopping the joints. The whole ceiling is usually skimmed or coated to reduce texture differences and flashing.
Can I paint a Gib ceiling straight after stopping?
No. It needs to be fully dry, sanded and sealed or primed first. Painting too early can lead to patchiness, poor adhesion and an uneven final look.
Need a hand with your project?
Happy to tackle some of it yourself? Great — but for anything you’d rather leave to a professional, Steve Lunjevich is a Kiwi and a trade-qualified painter with 20+ years’ experience. Call or email for honest advice or a free, no-obligation quote.