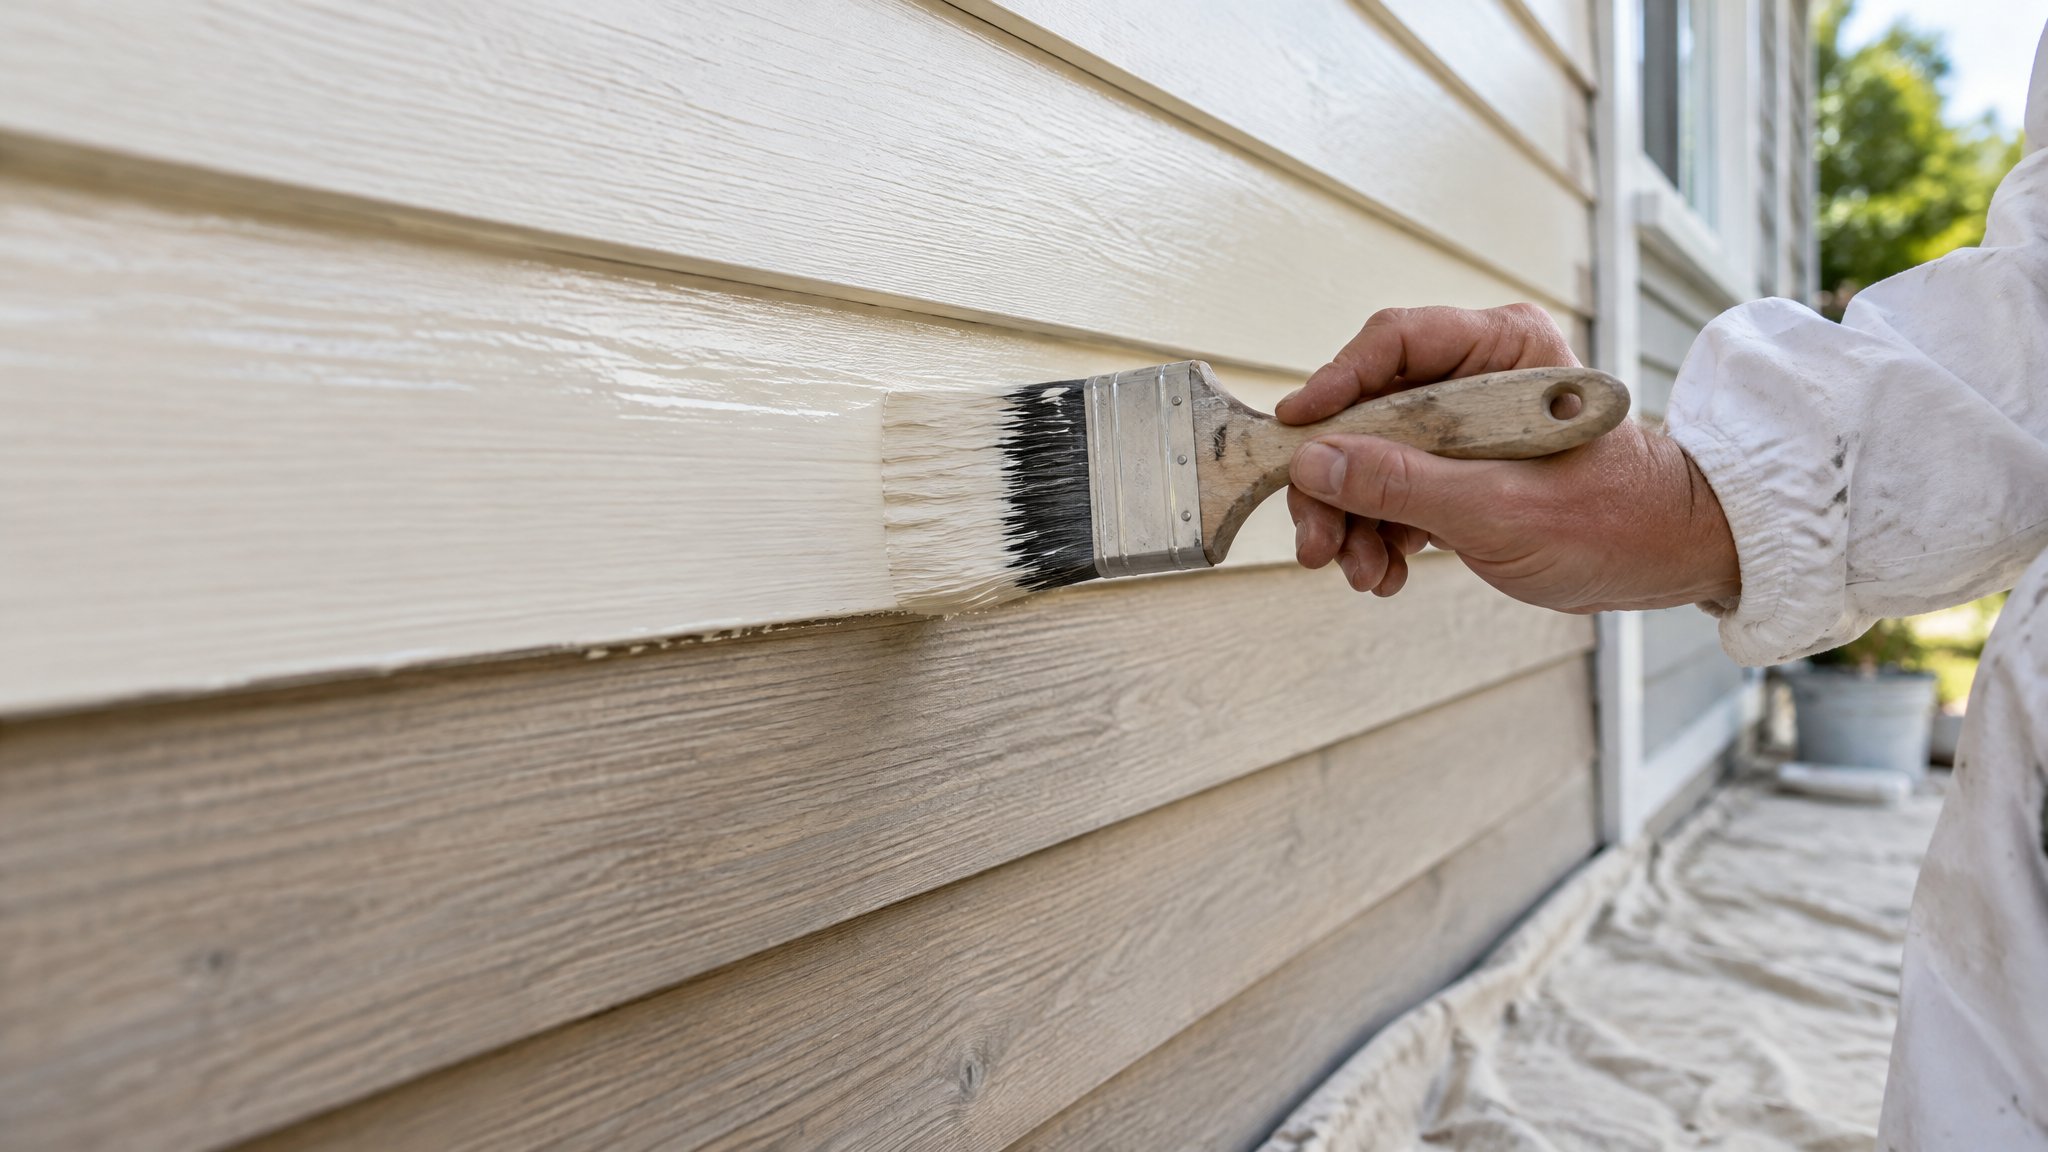
Proper prep is the difference between a paint job that lasts and one that starts peeling too soon. With exterior weatherboards, the surface needs to be clean, sound, dry and fully ready before any primer or topcoat goes on.
If you are tackling it yourself, take your time on the prep stage. In Auckland’s coastal and changeable weather, good preparation matters even more because moisture, salt and UV can all shorten the life of your coating.
Start with a thorough inspection
Before you wash or sand anything, walk around the house and check every board, corner and trim. Look for peeling paint, cracked joints, open nail heads, mould, water stains and any signs of rot, especially near gutters, window sills, decks and shady south-facing walls.
Use a scraper or blunt tool to test suspect areas. If the timber feels soft, spongy or crumbles easily, that section may need repair rather than just painting. It is also worth checking whether old paint is lifting in sheets, which can point to moisture getting in behind the boards.
- Check for loose, flaking or bubbling paint
- Look closely around windows, doors and corners
- Inspect for rotten timber and failed sealant
- Find and fix leaks before painting starts
Clean, wash and let the timber dry fully
Exterior weatherboards need to be clean before sanding or priming. Brush off cobwebs, dirt and loose debris first, then wash the surface with a suitable exterior cleaner to remove grime, mould and chalky residue. For mould growth, use a proper treatment rather than painting over it.
Avoid blasting weatherboards with too much pressure, as that can drive water into the timber or damage soft surfaces. A gentle wash is usually better than a harsh one. After washing, allow plenty of drying time. Damp timber can cause adhesion problems, blistering and early paint failure.
Scrape, sand, repair and prime the surface
Once the boards are clean and dry, scrape away all loose and failing paint. Feather the edges of remaining sound paint so there is a smooth transition rather than a hard ridge. Sand glossy areas lightly so the new coating can grip properly.
Fill small cracks, gaps and nail holes with an exterior filler that suits timber. For wider gaps, use a flexible exterior sealant where appropriate, especially around joinery and trim. Replace rotten or badly damaged boards before painting; paint will not fix failed timber.
Bare timber and repaired spots need priming before topcoats go on. Use the right exterior primer for the condition of the substrate and follow the product instructions carefully. On older homes, priming is especially important because exposed timber and spot repairs absorb paint differently.
- Scrape back all loose paint
- Sand edges and glossy patches
- Fill cracks and small defects
- Prime bare timber and repairs
When to call Steve
If your weatherboards have widespread peeling, hidden rot, recurring moisture issues or lots of high-level areas to reach safely, it is usually best to get professional advice before you start. Steve is a Kiwi and a trade-qualified painter, and he can assess what needs repair, what can be painted over, and what prep is essential for a durable finish.
For Auckland homes in coastal or weather-exposed locations, Steve can also recommend the right prep approach and coating system so the result looks sharp and lasts well.
Frequently Asked Questions
Do I need to sand all weatherboards before painting?
Not necessarily every square centimetre, but you do need to sand loose edges, rough patches and any glossy surfaces so the new paint bonds properly.
Can I paint over old peeling paint on weatherboards?
No. Peeling paint needs to be scraped back first. If you paint over failing edges, the new coat is likely to lift with the old one.
How dry do weatherboards need to be before painting?
They need to be properly dry, not just surface dry. After washing or rain, allow enough time for the timber to dry through before priming or painting.
Need a hand with your project?
Happy to tackle some of it yourself? Great — but for anything you’d rather leave to a professional, Steve Lunjevich is a Kiwi and a trade-qualified painter with 20+ years’ experience. Call or email for honest advice or a free, no-obligation quote.