
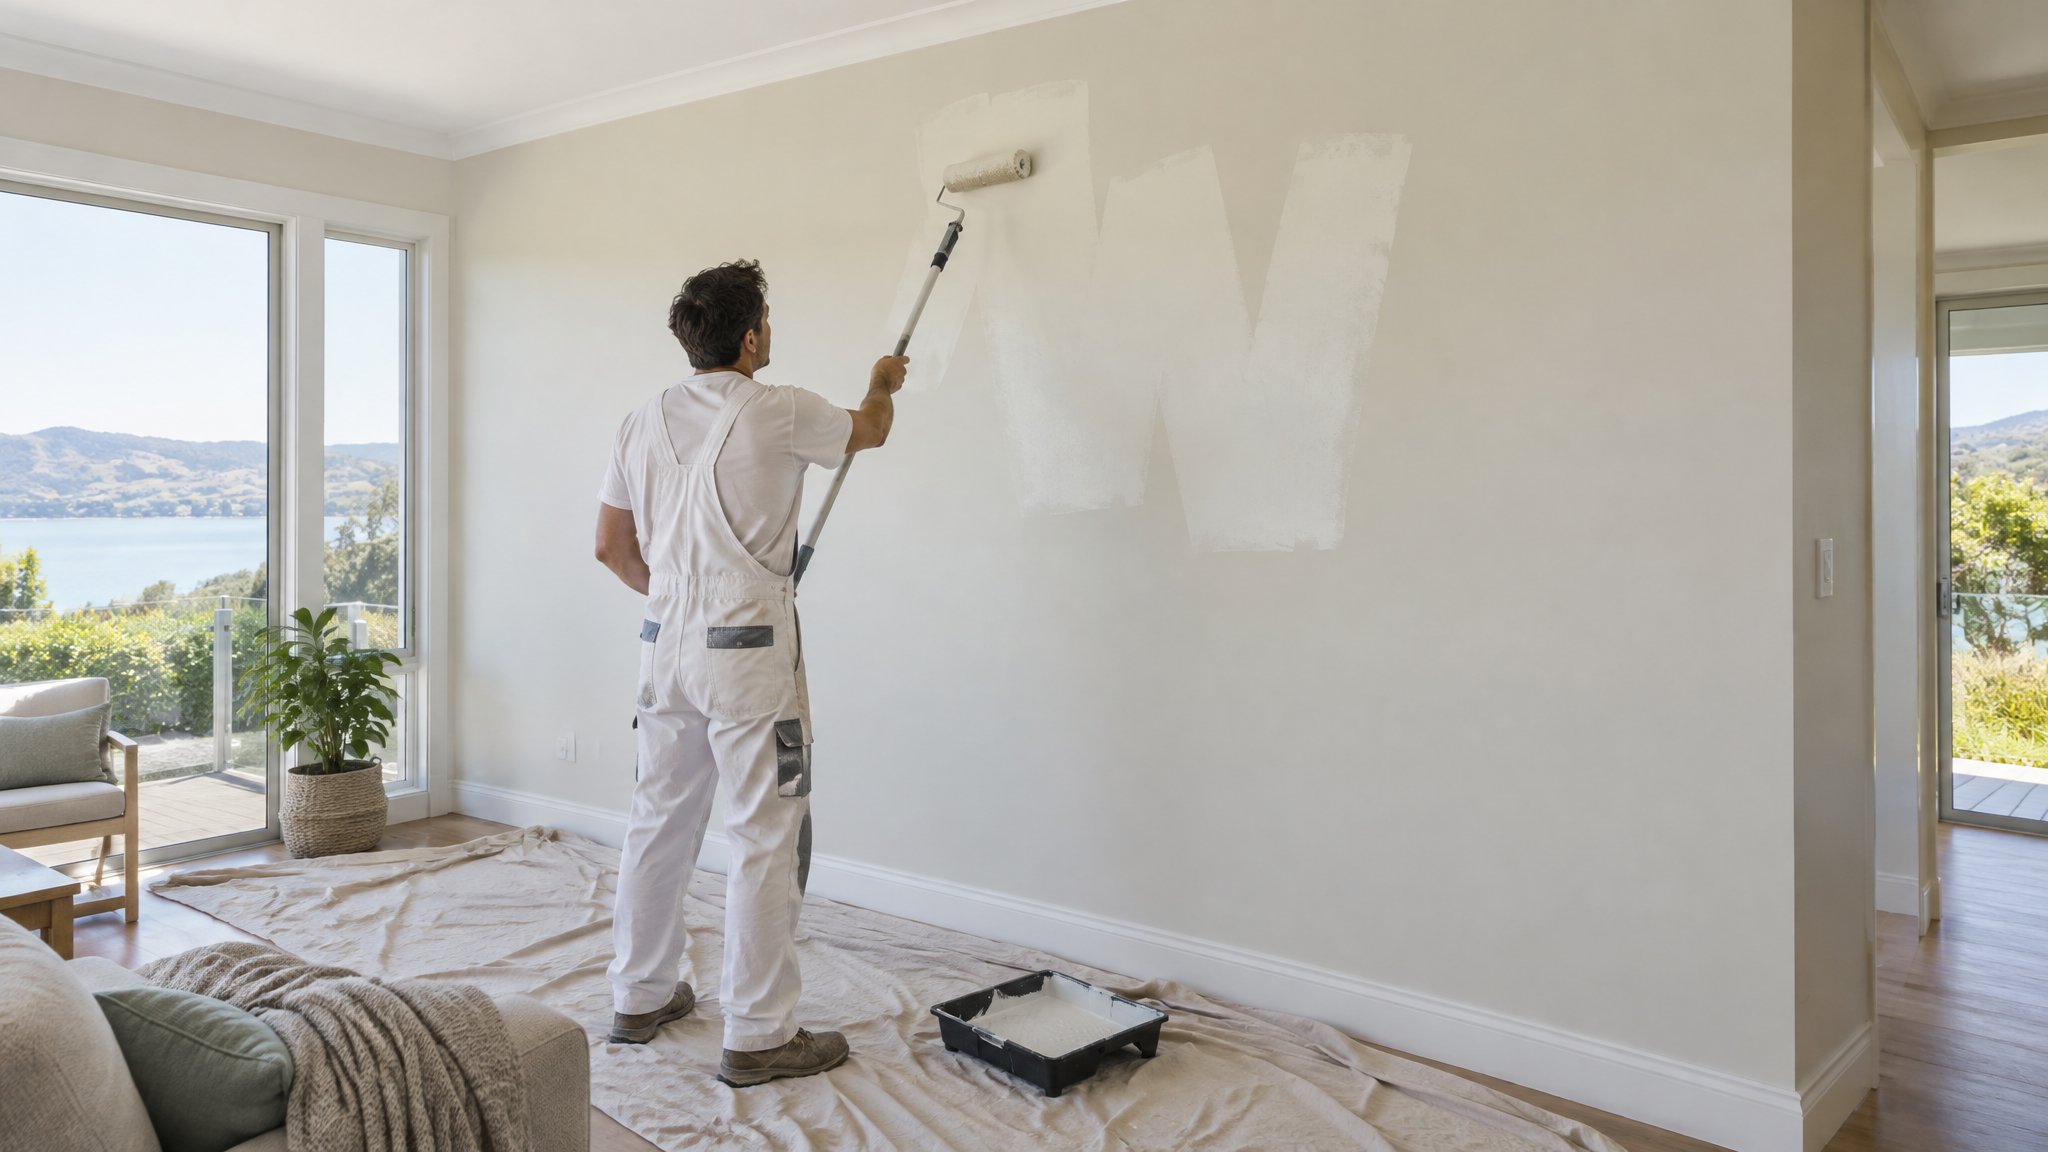
Painting around cornices and ceiling roses can be fiddly, especially in older Auckland homes where the detailing is part of the character. Getting a crisp line takes the right tools, steady hands, and a bit of patience.
The good news is that with good prep and the right approach, you can achieve a neat finish without smudging onto the ceiling or wall. Here’s how to do it properly, and when it makes sense to bring in Steve, a Kiwi and a trade-qualified painter.
Start with proper preparation
A neat finish begins before you open the paint tin. Dust and cobwebs often collect on cornices and around ceiling roses, so give them a careful clean first. If the surface is greasy, use a mild sugar soap solution and let it dry fully.
Check for cracks, gaps or flaky paint. Fill small cracks with a suitable filler, then sand smooth once dry. On decorative plasterwork, be gentle so you do not round off the detail. If the old paint is peeling badly, it may need more thorough scraping and priming before you paint.
Use quality masking tape only where it will help, not as a substitute for good cutting in. Tape can sometimes bleed paint or lift older finishes, especially on delicate heritage detailing.
Choose the right brush and method
For most cornices, a good angled sash brush gives you the best control. A smaller brush is useful around ceiling roses with fine detail, while a slightly wider brush can help on broader cornice profiles.
Load the brush lightly. Too much paint is the main reason people get drips and wobbly lines. Wipe off excess on the inside of the tin, then apply the paint in smooth strokes with the brush held at a comfortable angle.
Work in short sections rather than trying to do the full room in one long run. Keep a wet edge so the paint blends properly. If you are painting both the wall and ceiling, do the trim work first, then cut the larger areas in around it.
- Hold the brush steady and move your arm, not just your wrist
- Use light pressure so the bristles do the work
- Keep a damp cloth handy to catch any slips straight away
- Use a small step ladder if needed so you are not overreaching
How to get crisp lines on decorative details
When painting around a cornice, the trick is to follow the edge rather than forcing the brush into the profile. Let the brush tip guide the line, and use the shape of the moulding as your reference point.
For ceiling roses, paint from the outside edges inward so you do not drag wet paint across finished areas. If the rose has deep relief, use less paint and work it into the recesses carefully, checking from different angles for missed spots.
Natural light can make imperfections easier to see, so inspect your work as you go. In Auckland homes with high ceilings or ornate plasterwork, you may need a second coat to even out the finish and sharpen the overall look.
When to call Steve
If your cornices are cracked, your ceiling rose is highly detailed, or the room has tricky access, it is worth getting help from Steve, a Kiwi and a trade-qualified painter. He knows how to protect the character of older Auckland homes while still giving you a clean, modern finish.
Steve can advise on the right preparation, primers and finish paints for your specific surfaces, whether you are freshening up one room or repainting an entire property. For neat, reliable results without the stress, contact Steve, a Kiwi and a trade-qualified painter, for advice or a quote.
Frequently Asked Questions
Should I use masking tape around cornices?
Sometimes, but not always. Good cutting in with the right brush usually gives a cleaner result. Tape can help on straight edges, but on ornate or older surfaces it may bleed or lift paint.
What paint is best for cornices and ceiling roses?
Most interior cornices and ceiling roses are painted with a quality water-based enamel or interior acrylic finish, depending on the surface and existing coatings. Steve, a Kiwi and a trade-qualified painter, can advise what suits your home best.
How do I avoid brush marks on decorative plaster?
Use a good brush, do not overload it, and apply the paint in light, even strokes. If the surface is rough or previously painted badly, preparation and the right primer matter just as much as technique.
Need a hand with your project?
Happy to tackle some of it yourself? Great — but for anything you’d rather leave to a professional, Steve Lunjevich is a Kiwi and a trade-qualified painter with 20+ years’ experience. Call or email for honest advice or a free, no-obligation quote.