
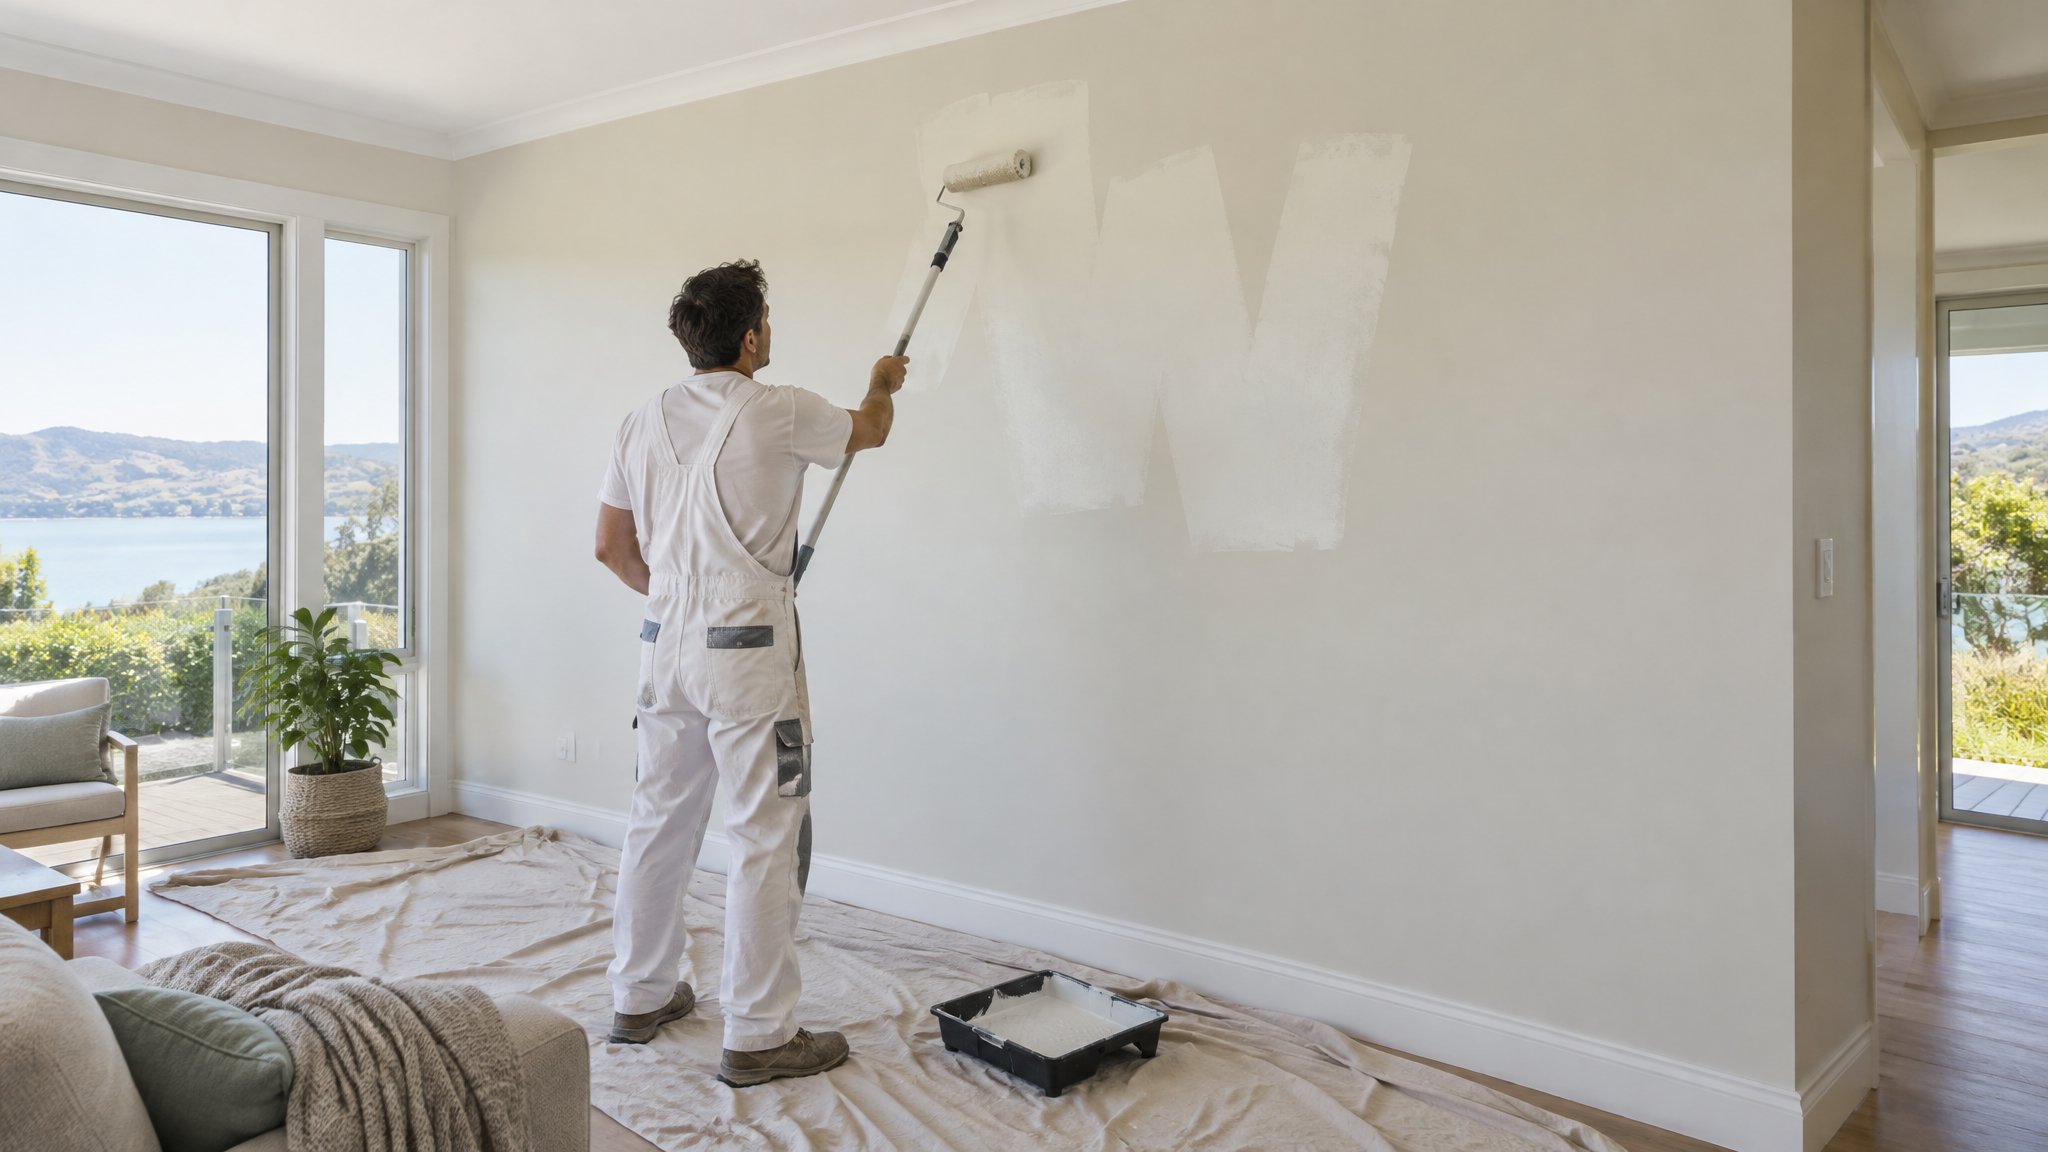
Painting around architraves cleanly is one of those jobs that looks simple until you’re staring at a brush, a wall, and a piece of timber trim that needs to stay sharp and tidy. The good news is that with the right prep, a steady hand, and a few painter’s tricks, you can get a crisp line without flooding the wall with paint.
For Auckland homes, where older villas, renovated bungalows and newer builds all have slightly different trim profiles, the key is to work methodically. A good finish starts before the brush even touches the surface.
Start with the right prep
Before you paint, clean the architraves and the wall edge so dust and grime don’t stop the paint from sitting neatly. If the trim has glossy old paint, give it a light sand so your new coat grips properly. Fill nail holes, gaps and dents first, then sand smooth once the filler is dry.
If there’s any loose paint at the edge where the architrave meets the wall, scrape it back gently. Uneven edges make it much harder to keep your line straight. A careful prep stage saves far more time than trying to fix messy edges later.
- Wipe down dust and cobwebs first
- Sand glossy or rough spots lightly
- Fill gaps and holes, then sand flush
- Remove any flaky paint at the edge
Use tape properly, not heavily
Painter’s tape can help, but only if it is applied well. Press it firmly along the wall side of the architrave edge so paint cannot creep underneath. Don’t stretch the tape as you apply it, because stretched tape can lift later and let paint bleed through.
For the neatest result, run a small putty knife or the back of a fingernail along the edge to seal it down. Paint in short sections, and remove the tape before the paint fully hardens. If you leave it too long, the dried paint can peel when you pull the tape away.
- Choose a low-tack painter’s tape
- Seal the edge firmly to stop bleeding
- Work in short sections
- Pull tape off while paint is still slightly soft
Master the brush technique
If you’re painting without tape, use a quality angled sash brush and load it lightly. Too much paint is the main reason walls get marked. Wipe off excess on the tin edge, then guide the brush along the architrave edge with slow, controlled strokes.
A steady hand matters, but so does brush position. Keep the brush at a slight angle and use the corner of the bristles to ‘cut in’ neatly. Rest your hand if you need to, and don’t try to cover too much in one go. Two thin coats are usually cleaner than one heavy coat.
A useful habit is to paint the architrave first, then cut the wall edge after the trim has dried. That way you can correct the line cleanly and avoid dragging wet paint across the wall.
- Use a good angled sash brush
- Don’t overload the brush
- Paint in short, controlled strokes
- Prefer two thin coats over one thick coat
When to call Steve
If the architraves are detailed, the walls are textured, or the old paint line is already uneven, it can be worth getting professional help. A neat finish around trim depends on preparation, the right products, and a steady cutting-in technique. If you’d rather avoid touch-ups and repainting the wall edge, contact Steve, a Kiwi and a trade-qualified painter, for advice or for the job itself.
Steve knows how to handle the mix of old and new surfaces commonly found in Auckland homes, from villas in Ponsonby and Grey Lynn to more contemporary interiors in Remuera, Epsom and Orakei. He can help you get a crisp, durable finish that looks properly finished, not just painted over.
- Uneven old edges need careful correction
- Textured walls are harder to mask neatly
- Professional prep often gives the sharpest result
Frequently Asked Questions
Should I paint the architraves or the wall first?
Usually paint the architraves first, then cut in the wall edge once the trim is dry. That gives you a cleaner line and reduces the risk of brushing wet paint onto the wall.
Is painter’s tape always necessary?
Not always. A skilled hand and a good angled brush can produce a very neat line. Tape helps if you’re less confident, but it must be applied carefully to avoid bleed or paint tearing.
Why does paint bleed under my tape?
Bleed happens when the tape isn’t sealed properly, the wall surface is dusty, or too much paint is applied. Press the tape down firmly and use light coats for the best result.
Need a hand with your project?
Happy to tackle some of it yourself? Great — but for anything you’d rather leave to a professional, Steve Lunjevich is a Kiwi and a trade-qualified painter with 20+ years’ experience. Call or email for honest advice or a free, no-obligation quote.