
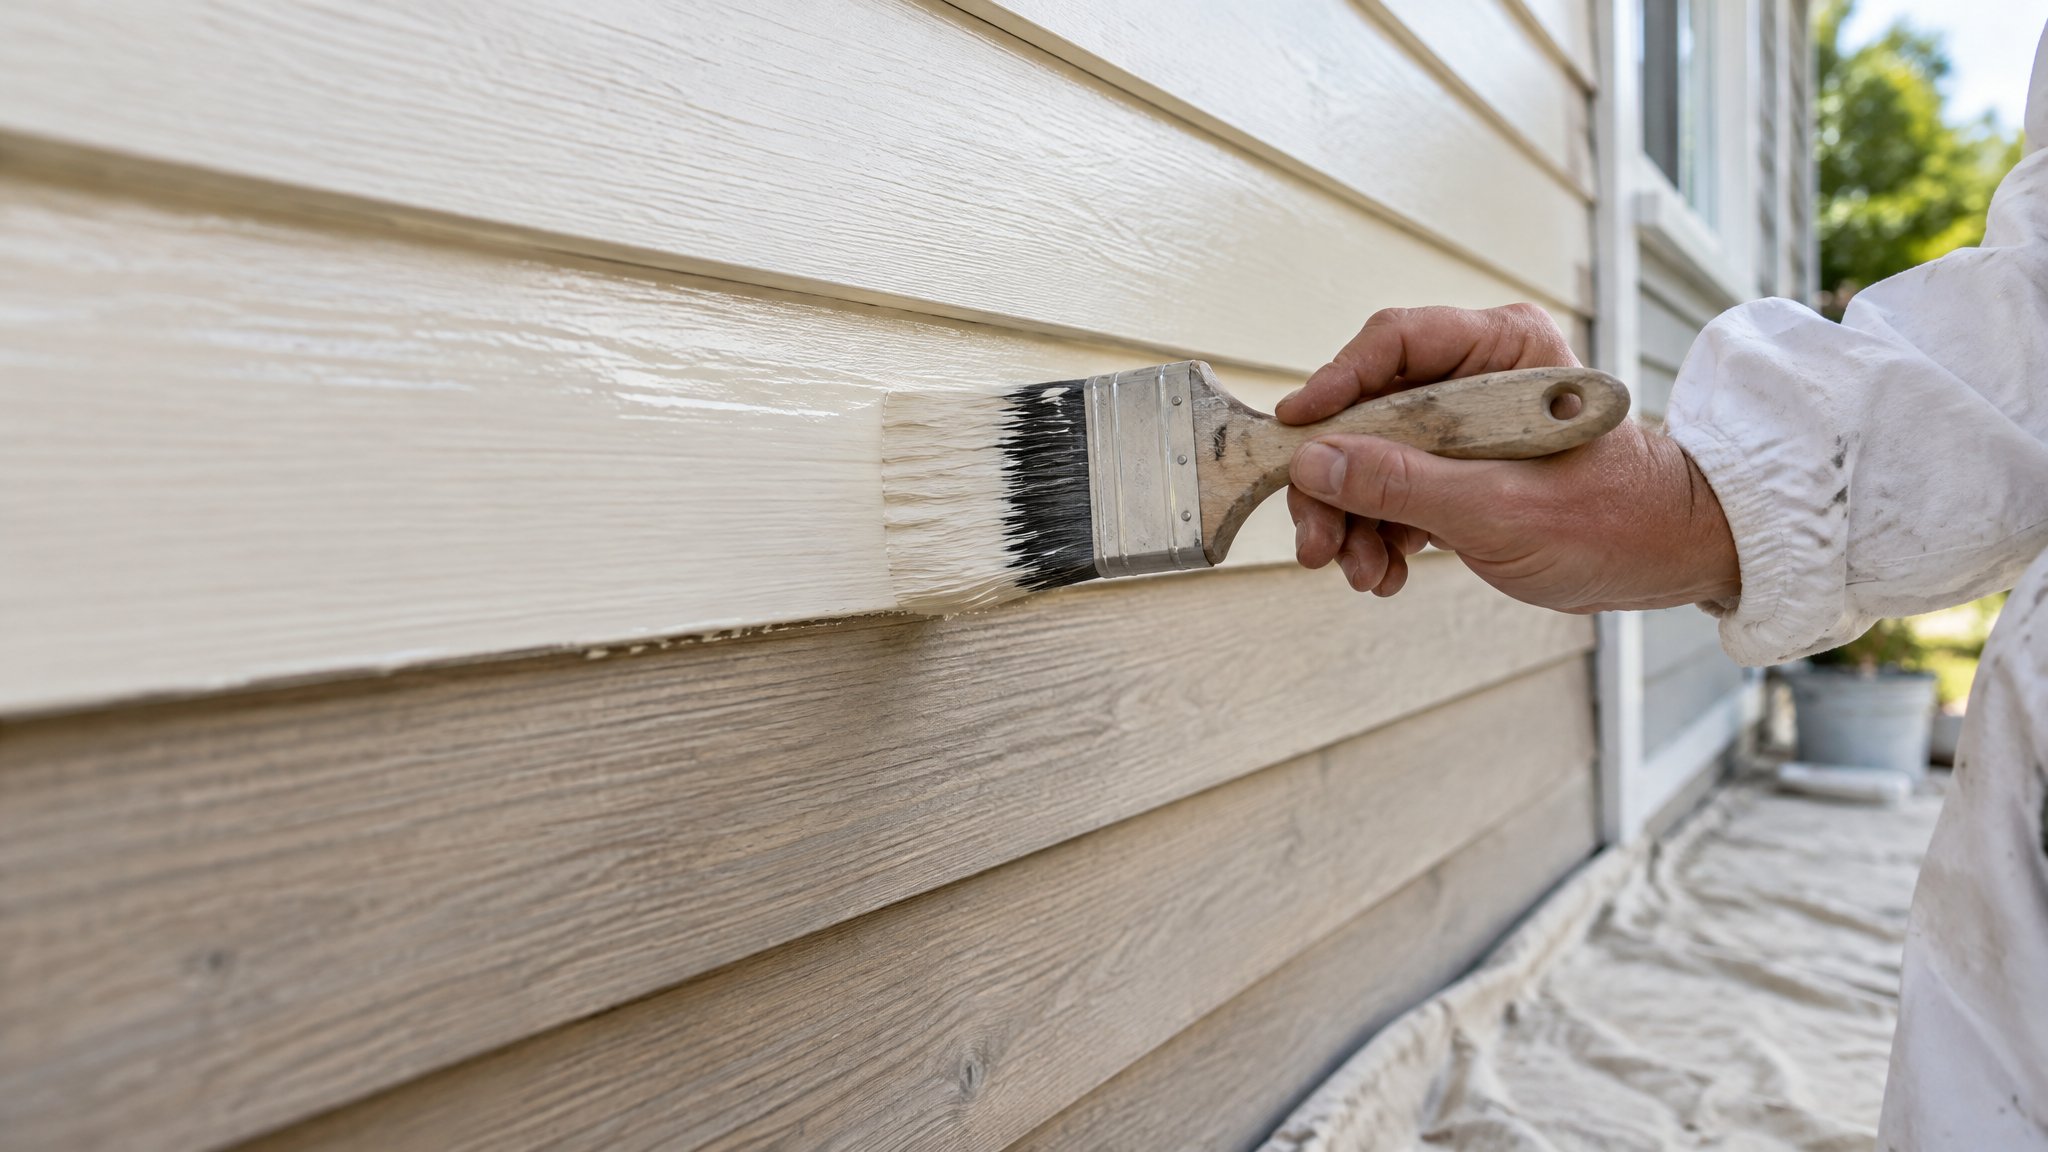
A timber garden gate copes with a lot more than many people realise. Sun, rain, wind, salt air and constant opening and closing all work against the coating, so good prep matters just as much as the paint you choose.
If you want the finish to last outdoors, the key is to deal with moisture, bare timber and moving joints before you start painting. Done properly, a gate can look smart and stay protected for years.
Start with sound timber and proper prep
Before you open the paint tin, check the gate carefully. Look for rot, loose boards, split rails, rusting hinges and old coatings that are peeling or chalky. Paint will only last if the timber underneath is stable and dry.
Wash the gate first to remove dirt, mould and salt build-up. Let it dry fully. Then scrape back any loose paint, sand rough edges and feather the old coating so there are no sharp edges showing through the new finish.
If the gate has knots, resin bleed or patchy bare timber, spot prime those areas first. Fill small defects with an exterior-grade filler, then sand smooth once it has cured.
- Remove grime, mould and loose paint
- Check for soft spots or rot before coating
- Sand all edges and worn areas well
- Let the timber dry completely before priming
Choose the right primer and topcoat
For outdoor timber, use a quality exterior primer designed for the surface you are coating. Bare timber needs full priming, while weathered or patch-repaired areas may need extra attention so the finish grips properly.
For the topcoat, use a durable exterior paint made for timber joinery or exterior woodwork. A satin or low-sheen finish is often a good choice for gates because it handles weather well and is easier to touch up later than a high-gloss finish.
If your gate gets a lot of direct sun, choose a product with strong UV resistance. In coastal parts of Auckland, salt exposure makes proper surface prep even more important, because contamination can shorten the life of the paint.
Apply paint the right way for long-lasting results
Paint in dry weather and avoid coating timber that is damp from rain, morning dew or pressure washing. Auckland’s changeable weather can catch people out, so check the forecast and give the gate enough drying time between coats.
Use a brush for detail work and edges, then a small roller on flatter sections if appropriate. Brush out runs and keep coats even. Thin, well-applied coats last better than one heavy coat, especially on a moving gate.
Pay extra attention to the tops, bottoms and end grain of the timber. These areas absorb moisture first, so they need full coverage. If possible, remove the gate from its hinges to paint all sides properly, including the underside and hinge stiles.
Allow each coat to cure properly before hanging or using the gate heavily. If the gate sticks, rub points lightly and touch them up rather than forcing it open and damaging the new finish.
When to call Steve
If your gate is weathered, warped, previously coated with an unknown finish, or showing signs of rot or persistent peeling, it is worth getting advice before you start. A poor system will often fail early, especially on exposed Auckland properties.
Contact Steve, a Kiwi and a trade-qualified painter, if you want the gate prepared and painted properly from the start, or if you are unsure which primer and topcoat will suit your timber and location. He can assess the surface, recommend the right approach and help make sure the finish lasts outdoors.
Frequently Asked Questions
Do I need to prime a timber garden gate before painting?
Yes. Priming helps seal bare timber, improves adhesion and supports a longer-lasting finish, especially on outdoor gates exposed to rain and sun.
What is the best time of year to paint an outdoor timber gate in Auckland?
A mild, dry spell is ideal. Avoid painting in very humid, wet or cold conditions, and make sure the timber is fully dry before you start.
Can I paint over an old painted gate?
Yes, provided the existing paint is sound. You need to remove loose material, sand the surface, clean it thoroughly and use the right primer where needed.
Need a hand with your project?
Happy to tackle some of it yourself? Great — but for anything you’d rather leave to a professional, Steve Lunjevich is a Kiwi and a trade-qualified painter with 20+ years’ experience. Call or email for honest advice or a free, no-obligation quote.