
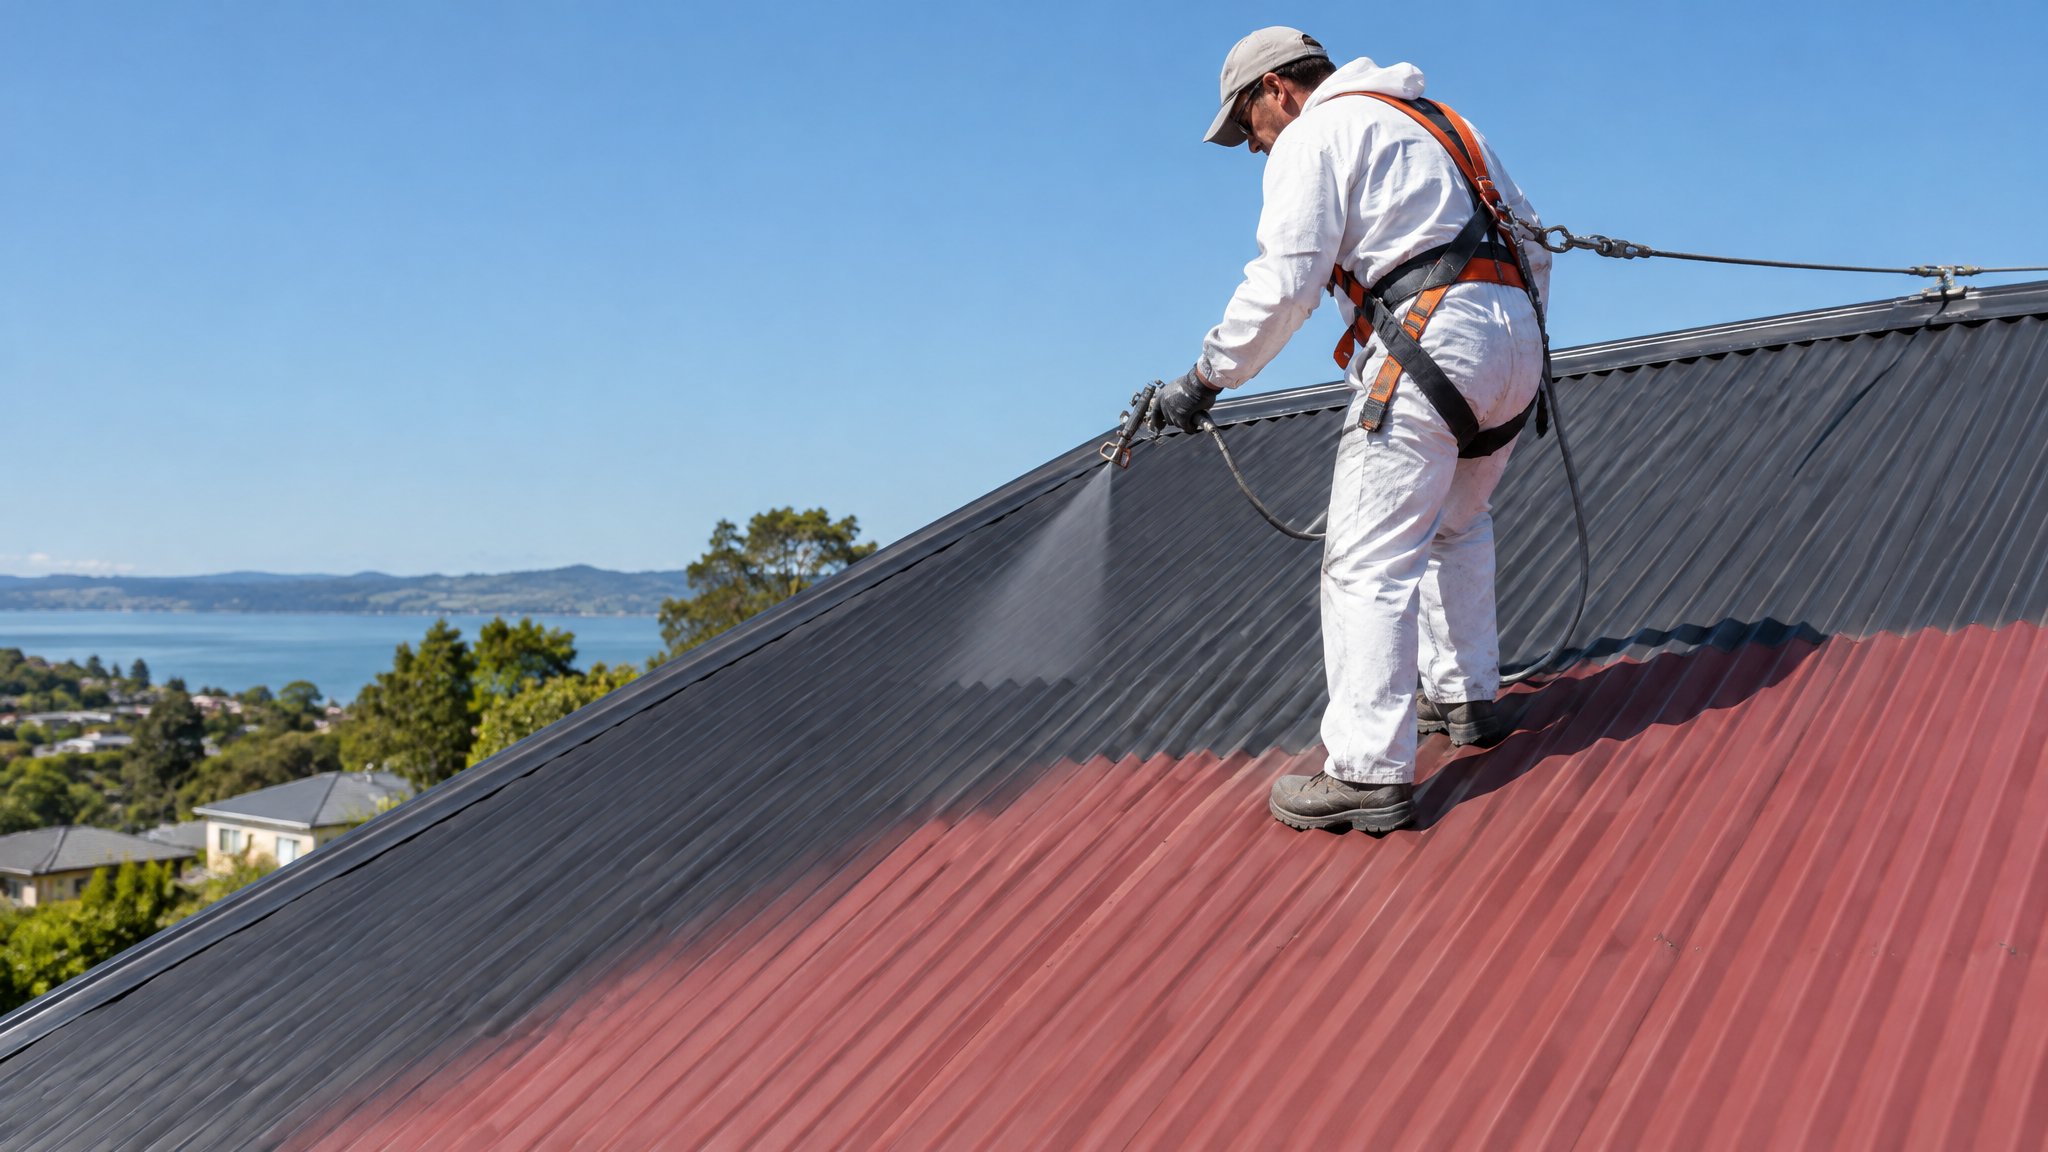
If your roof paint starts bubbling shortly after you apply it, don’t ignore it. Bubbling usually means something has gone wrong with the surface, the weather, or the coating system, and it can lead to peeling, patchy coverage, and early failure.
The good news is that bubbling often points to a specific cause. With the right check, you can work out whether it is a small patch-up job or a sign the whole roof needs to be stripped back and repainted.
First check the most likely causes
Roof paint bubbles for a few common reasons. In Auckland, one of the biggest issues is moisture trapped under the coating. If the roof was not fully dry after rain, morning dew, moss washing, or a misty day, the paint can blister as it cures.
Another common cause is poor surface preparation. If the roof still had dust, chalking, grease, moss, lichen, or loose old paint on it, the new coating may not grip properly. Bubbling can also happen if the wrong primer was used, or if the roof coating was applied too thickly.
Weather conditions matter too. Painting in direct hot sun, high humidity, or just before a cool change can affect how the paint dries. On metal roofs, trapped heat can make solvents or moisture push through the coating and create bubbles.
- Check whether the roof was completely dry before painting
- Look for dust, chalk, moss, or loose coating underneath
- Confirm the primer and topcoat were compatible
- Think about weather during application and drying
What to do right away
If the bubbling is still fresh, stop applying more paint to the affected area. Adding extra coats over a failing patch usually locks the problem in and makes repairs harder later.
Let the area dry fully before you inspect it. Once dry, gently press the bubbles. If they are soft and hollow, the coating may not be bonded to the roof. If the bubbles are hard and only on the surface, it may be a drying issue rather than full adhesion failure.
For a small area, scrape back all loose and blistered paint to a sound edge, feather the edge, clean the surface thoroughly, and recoat only when the roof is dry and stable. If the paint has bubbled across several areas, the safer fix is often to remove the failed coating, prepare properly, and start again.
- Do not paint over wet or blistered spots
- Allow the roof to dry completely before judging the damage
- Remove loose paint back to a firm edge
- Recoat only with the correct product system
How to prevent it happening again
Good roof painting starts well before the first coat goes on. The roof needs a proper wash and surface prep, followed by enough dry time. Any rust, flaking paint, or moss should be treated first, and metal roofs often need the right primer to help the topcoat stick.
It also pays to paint in the right window. In Auckland, that usually means picking a fine, settled spell with low humidity and enough drying time between coats. The roof should not be too hot, too damp, or at risk of dew forming before the paint has cured.
Using the correct roof coating matters just as much as the prep. Not every paint suits every roof type, and a product mismatch can cause poor adhesion, bubbling, or early breakdown.
When to call Steve
If the bubbling is widespread, keeps returning, or appears soon after a full roof repaint, it is worth getting proper advice before the coating fails completely. Steve is a Kiwi and a trade-qualified painter, and he can assess whether the issue is moisture, prep, product choice, or a larger roof coating problem. For Auckland homeowners and property managers, that can save time, stress, and avoidable rework.
Frequently Asked Questions
Can I paint over bubbled roof paint?
Not usually. You should remove the bubbled and loose paint first, then fix the cause before recoating. Painting over bubbles often makes the problem worse.
Is roof paint bubbling always caused by water?
No. Moisture is common, but bubbles can also come from poor prep, incompatible products, thick application, or painting in unsuitable weather.
How long should a roof stay dry before painting?
The roof must be fully dry, not just dry on the surface. In Auckland conditions, that often means waiting for a settled stretch of weather and checking for trapped moisture in joins, laps, and textured areas.
Need a hand with your project?
Happy to tackle some of it yourself? Great — but for anything you’d rather leave to a professional, Steve Lunjevich is a Kiwi and a trade-qualified painter with 20+ years’ experience. Call or email for honest advice or a free, no-obligation quote.