
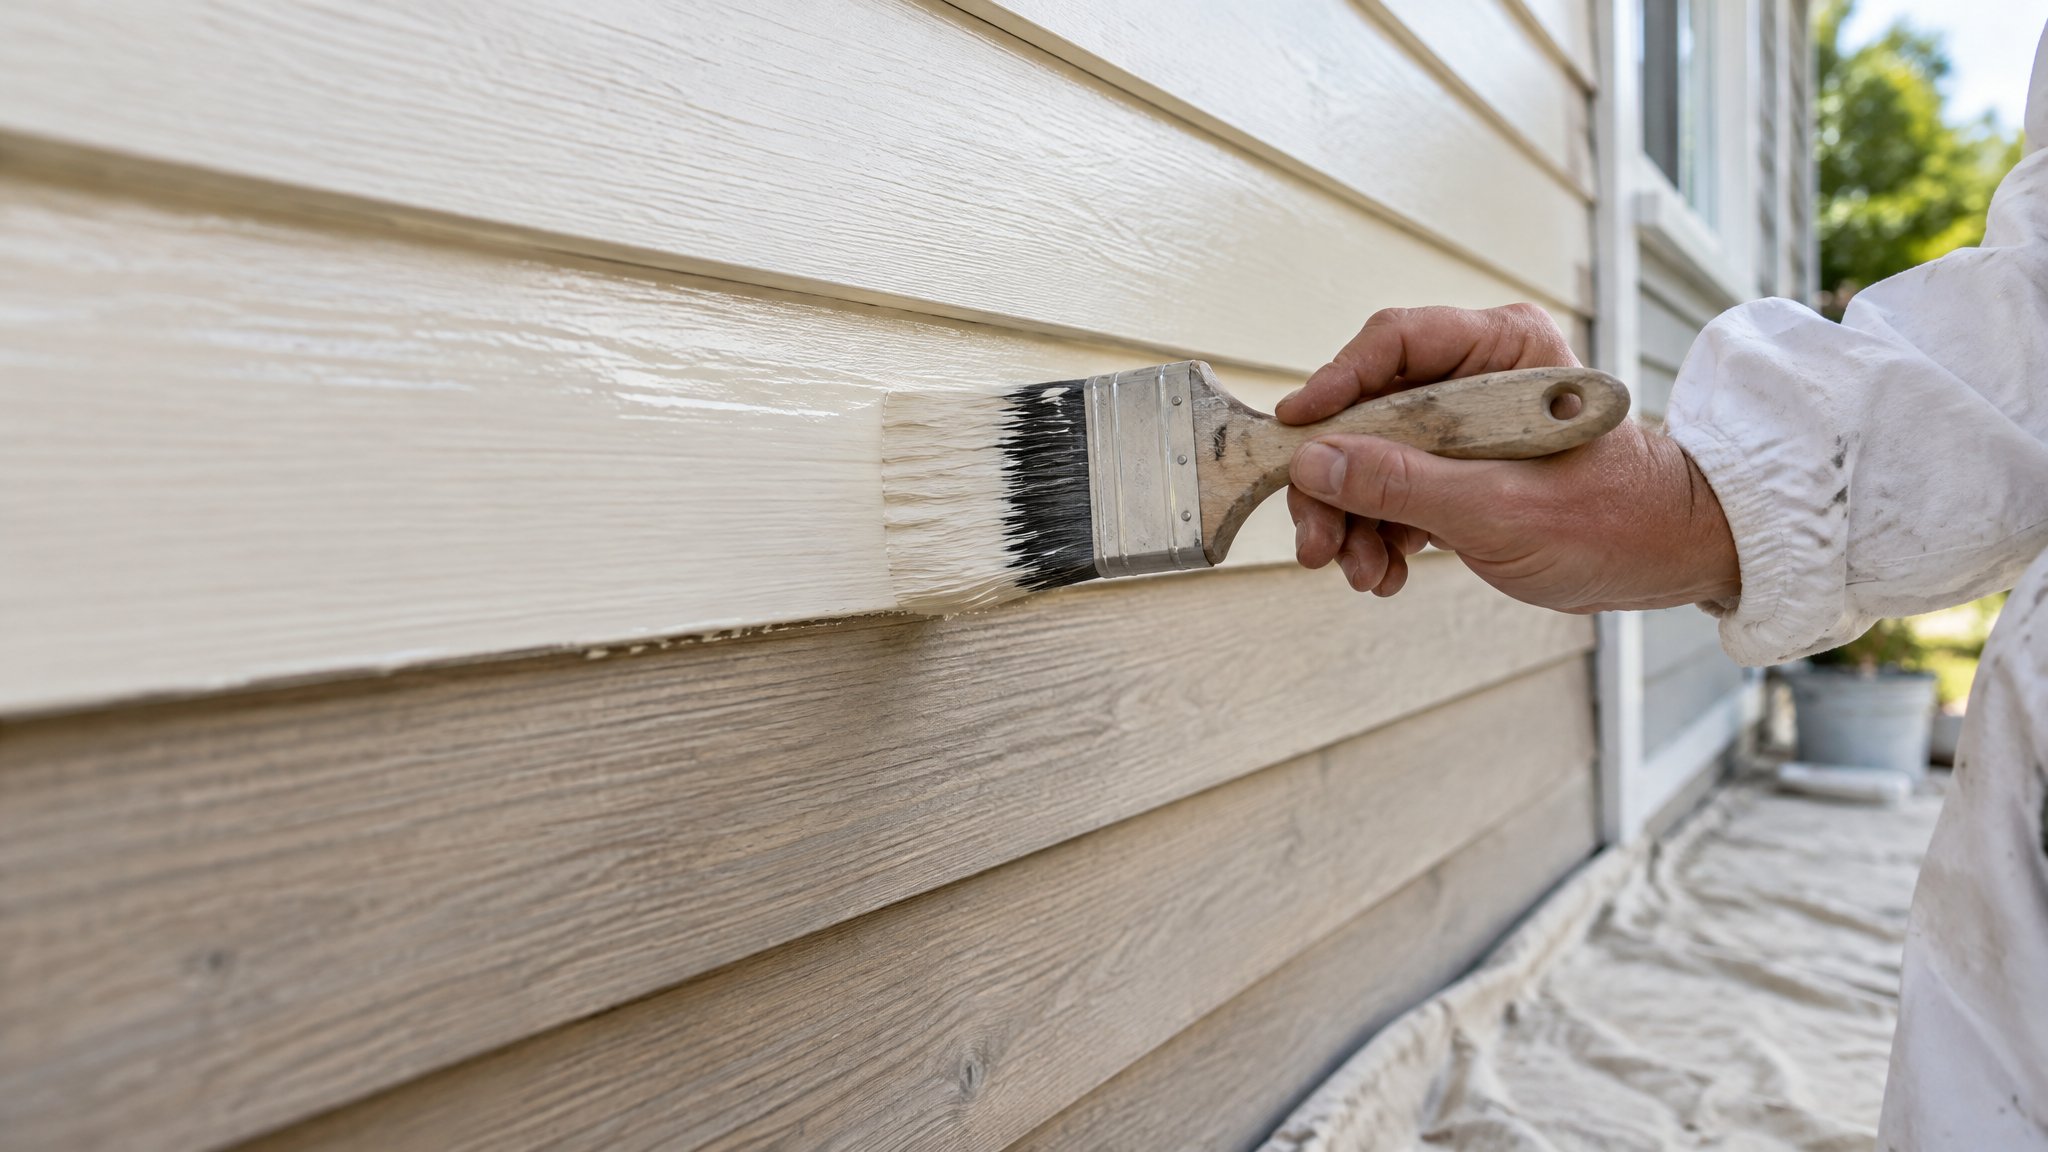
Interior timber beams, ceilings, trims and feature walls can add real warmth and character to a home, but only if they’re finished properly. In Auckland homes, the right oil or varnish helps protect the timber while keeping the grain looking natural.
The best method depends on the timber type, the current finish, and the look you want. If you’re unsure, Steve, a Kiwi and a trade-qualified painter, can help you choose the right product and finish for your home.
Choose between oil and varnish first
Before you start, work out whether you want a natural, low-sheen look or a tougher sealed finish. Oil soaks into the timber and gives a softer, more natural appearance. Varnish sits on top of the timber and usually gives stronger protection and easier cleaning.
For interior beams and exposed timber in living rooms, villas, bungalows and modern homes, the choice often comes down to maintenance and appearance. Oils are easier to refresh later, while varnish is usually better where the timber may get more handling, dusting or wear.
- Use oil for a natural, low-sheen finish
- Use varnish for stronger surface protection
- Match the finish to the timber type and room use
- Check whether the timber is bare, previously oiled, or already varnished
Prep the timber properly
Good preparation is the difference between a clean finish and a patchy one. Start by removing dust, cobwebs and any grease. If the timber has an old coating, lightly sand it so the new product can key into the surface. Always sand with the grain where possible, and vacuum or wipe down afterwards.
If the timber is stained, damaged or uneven, you may need to do more careful sanding before applying anything. On beams overhead, dust control matters as much as the finish itself, so protect floors, furniture and walls before you begin.
If there are nail holes, cracks or open joins, sort those out first. Timber movement is normal in Auckland homes, especially with seasonal changes, so a well-prepared surface will hold up better.
Apply oil or varnish in thin, even coats
For oil, use a lint-free cloth or brush depending on the product instructions. Apply it evenly, allow it to soak in, then wipe off any excess before it goes tacky. Too much oil left sitting on the surface can look sticky or uneven.
For varnish, use a good-quality brush and apply thin coats rather than one heavy coat. Keep a wet edge, avoid over-brushing, and follow the drying times on the tin. Lightly sand between coats if the product recommends it.
A few practical tips:
Work in good light so you can spot missed areas
Keep the room ventilated
Avoid painting in very humid conditions
Always test on a hidden area first, especially on darker or older timber
When to call Steve
If your timber beams are high, stained, previously coated, or showing signs of wear, it is worth getting advice before you begin. The wrong preparation or product can leave timber blotchy, glossy in the wrong places, or difficult to fix later.
Steve, a Kiwi and a trade-qualified painter, can assess the timber, recommend the right oil or varnish, and complete the work to a high standard. That is especially useful for premium homes where the finish needs to look clean, even and in keeping with the rest of the interior.
If you want the timber finished properly the first time, or you are not sure whether to oil, varnish or recoat existing timber, contact Steve for practical advice and a professional result.
Frequently Asked Questions
Should I oil or varnish interior beams?
Oil suits a natural, matte or low-sheen look and is easier to refresh. Varnish gives a tougher protective film and is usually easier to wipe clean. The best choice depends on the timber, the room, and the look you want.
Do I need to sand timber before oiling or varnishing?
Yes, usually. Light sanding helps the new finish bond properly and gives a smoother result. If the timber is already coated or uneven, more prep may be needed.
Can I apply varnish over old oil?
Not usually without proper preparation. Oil can interfere with adhesion, so the surface must be cleaned, sanded and checked carefully first. If you are unsure, get advice from Steve, a Kiwi and a trade-qualified painter.
Need a hand with your project?
Happy to tackle some of it yourself? Great — but for anything you’d rather leave to a professional, Steve Lunjevich is a Kiwi and a trade-qualified painter with 20+ years’ experience. Call or email for honest advice or a free, no-obligation quote.