
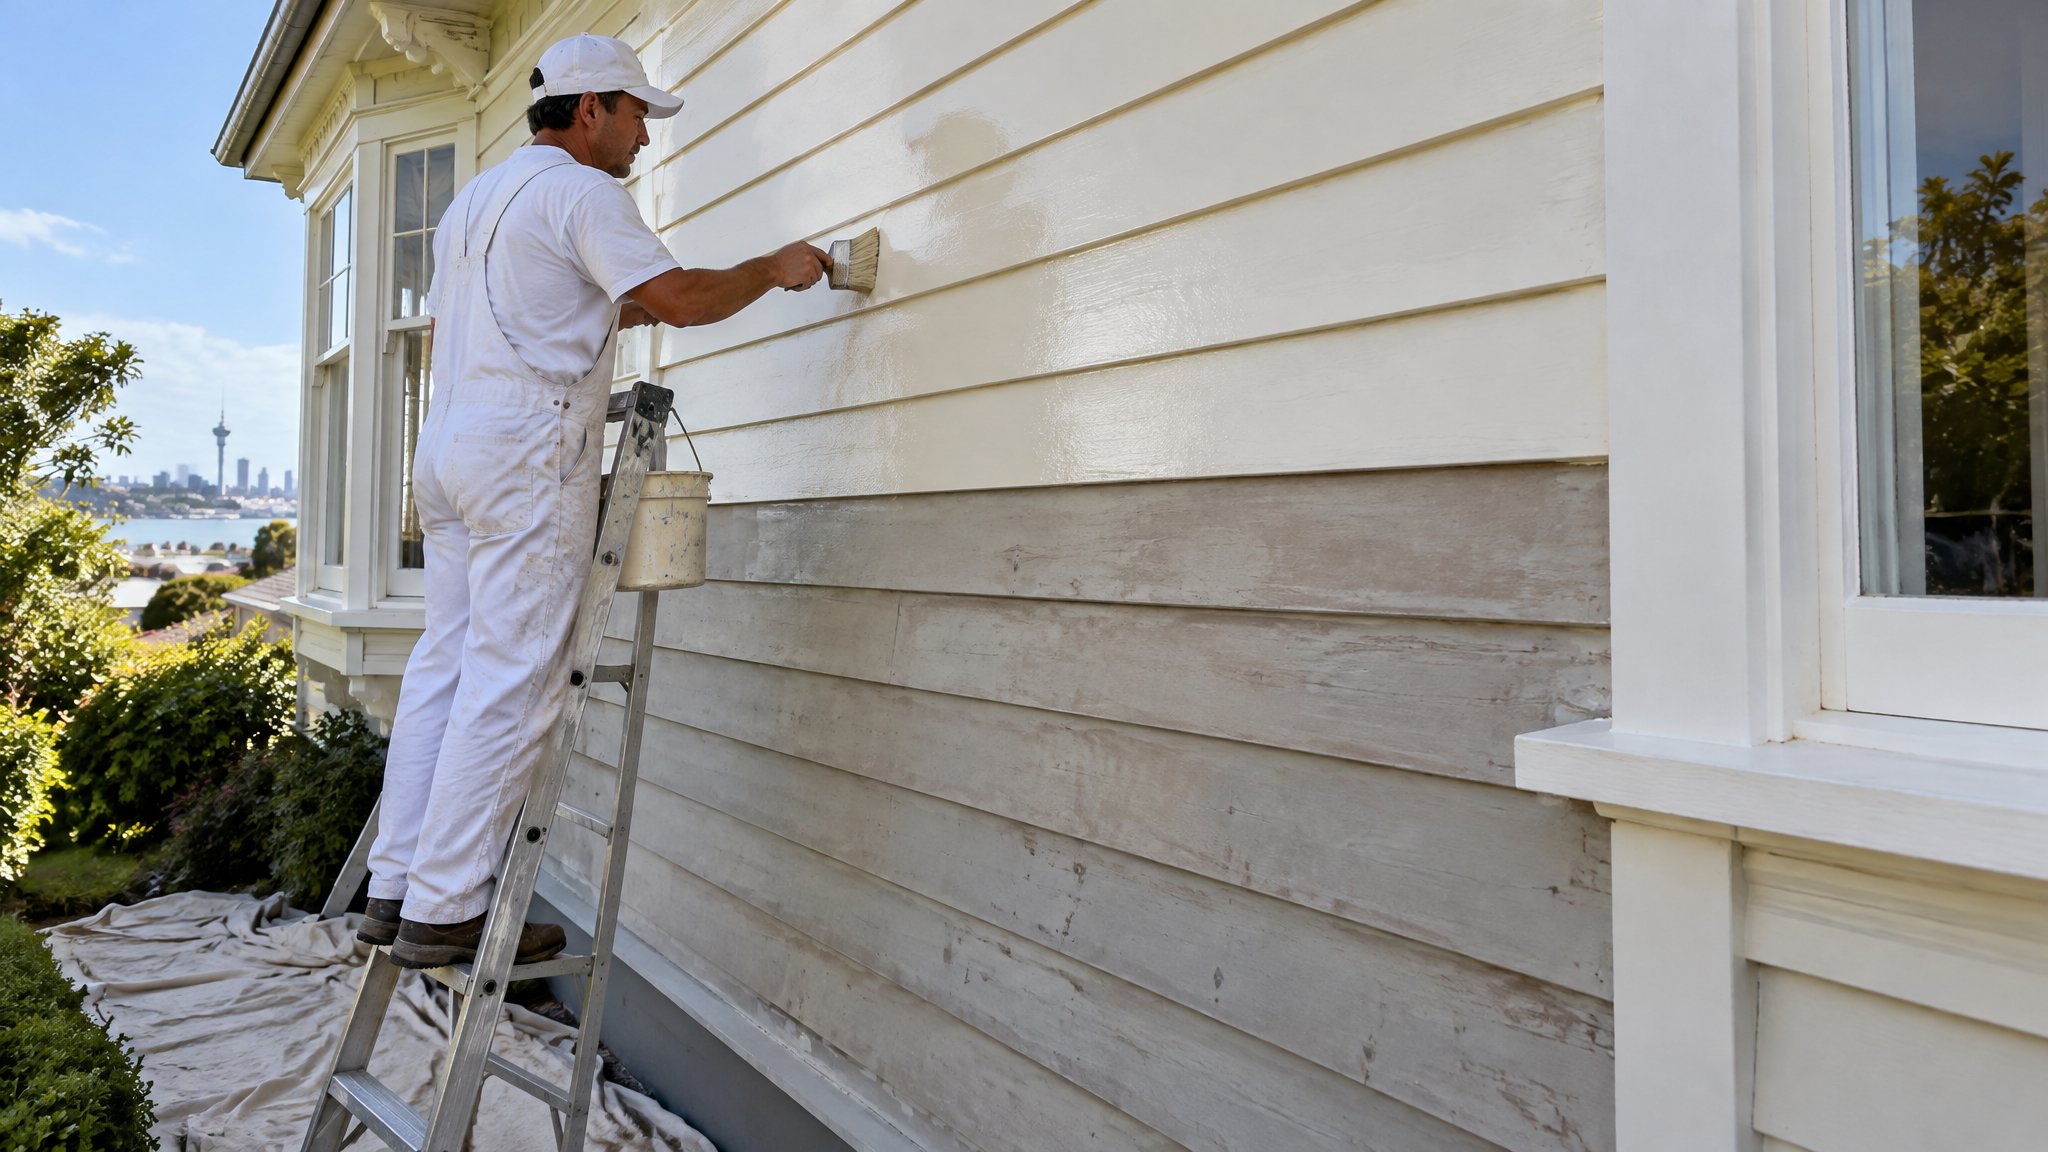
Paint bleeding under a ridge cap is a common frustration when painting a roof or touching up high spots. It usually happens when the paint is too wet, the brush is overloaded, or the edge detail has not been prepared properly.
The good news is that with the right prep and brush technique, you can get a much cleaner line. If you are working on a roof in Auckland, it also pays to think about wind, heat and the condition of the metal, as those can make the problem worse.
Why paint bleeds under ridge caps
Bleeding happens when liquid paint finds its way into the tiny gap beneath the ridge cap or along the lap where two roof surfaces meet. On older roofs, that gap may be uneven, dusty, or already full of loose sealant and flaking coating.
A brush loaded with too much paint can push product into places you do not want it. Strong sun can also make you work faster than the paint can settle, while wind can pull the bristles off line and leave paint creeping under the edge.
- Too much paint on the brush
- Loose dust, rust, or old coating under the cap edge
- Working in hot or windy conditions
- Using the wrong brush size or a very soft brush
- Painting over a poor surface seal
How to prevent it before you brush
Start by cleaning the ridge line properly. Brush away dust, cobwebs, chalky residue and any loose paint. If there is rust or failed sealant, deal with that first rather than trying to paint over it.
Use a good angled brush that gives you control without being too wide for the detail. A smaller brush often gives a cleaner finish around ridge caps than a big one, because you can keep the bristles on the visible face instead of flooding the edge.
If the gap under the cap is open, do not try to force paint into it. That usually makes the problem worse. Instead, feather the paint onto the edge with light, controlled strokes. When masking is practical, use quality painter’s tape or a temporary shield to keep the line tight.
- Clean and dry the ridge line first
- Remove loose material before painting
- Choose a brush that suits the detail
- Keep the paint load light
- Mask only where it will stay secure
Brush technique that gives a cleaner edge
Dip only the first third of the bristles into the paint, then tap off the excess. You want the brush loaded enough to flow, but not so wet that it drips or squeezes out under pressure.
Hold the brush at a steady angle and use the edge of the bristles to ‘cut in’ along the ridge cap. Short, confident strokes are better than long heavy ones. Work from the top side where possible, so you are pulling paint away from the gap rather than pushing it into it.
If you notice bleeding starting, stop and wipe the edge immediately before it skins over. Once the paint has started to settle under the cap, trying to brush it back often marks the finish and creates a rough line.
When to call Steve
If the ridge caps are heavily weathered, the coating is failing, or you keep getting bleed no matter how careful you are, it is worth getting help. A roof can have hidden issues such as movement, poor previous prep, or gaps that need more than just a careful brush hand.
Steve is a Kiwi and a trade-qualified painter, and he can assess what is causing the bleeding and recommend the right fix for your roof or exterior detail. That can save time, reduce rework, and give you a neater result that lasts better in Auckland conditions.
Frequently Asked Questions
Should I use tape under ridge caps to stop bleeding?
Tape can help on some edges, but it is not always practical on roof work and may not stick well on dusty or uneven surfaces. Clean prep and controlled brushing usually matter more.
Does thicker paint stop bleeding under the ridge cap?
Not usually. Thick paint can still creep into gaps if the brush is overloaded. A lighter brush load and better surface prep are more effective.
What brush is best for painting ridge caps neatly?
An angled brush with firm control is usually best. The exact size depends on the profile, but a smaller brush often gives better accuracy around ridge details.
Need a hand with your project?
Happy to tackle some of it yourself? Great — but for anything you’d rather leave to a professional, Steve Lunjevich is a Kiwi and a trade-qualified painter with 20+ years’ experience. Call or email for honest advice or a free, no-obligation quote.