
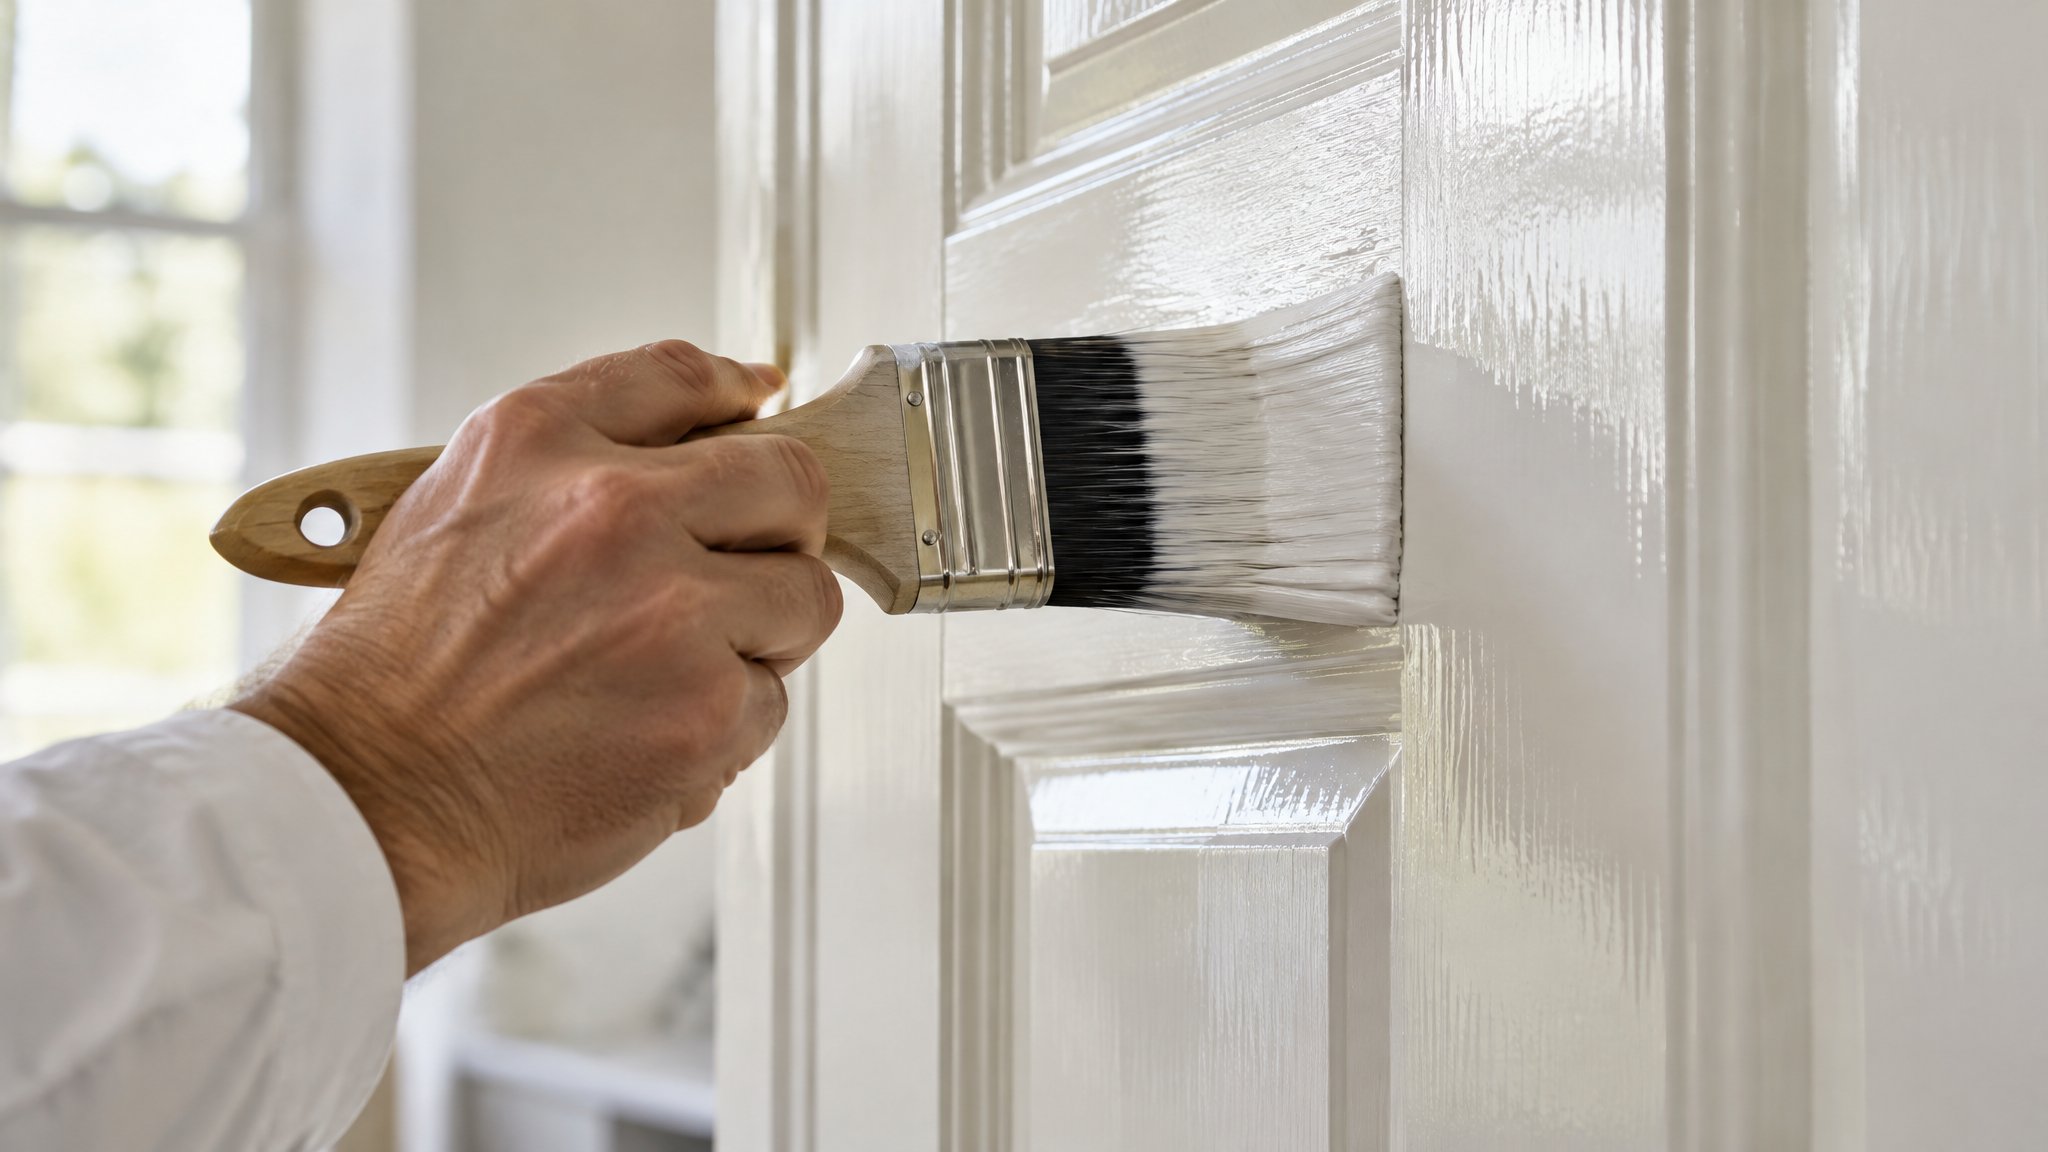
Brush marks in enamel paint are usually a sign that the paint, brush, surface, or technique is working against you. The good news is that most of the time, they can be prevented with the right setup and a bit of patience.
In Auckland homes, enamel is often used on trims, doors, skirting boards, and cabinetry where a clean, hard-wearing finish matters. Here’s how to get a smoother result and avoid those visible strokes.
Choose the right enamel and brush
A lot of brush mark problems start before the paint even hits the surface. If the enamel is too thick, too old, or not suited to the job, it will drag and leave lines behind. Always use the right product for the surface and follow the manufacturer’s instructions for thinning, recoat times, and application conditions.
Your brush choice matters just as much. A good-quality angled sash brush or synthetic brush designed for enamel will hold paint evenly and release it more smoothly. Cheap brushes can split, shed bristles, and leave a rough finish. For most trim and door work, a quality brush makes a noticeable difference.
- Use a brush made for enamel or trims
- Stir paint thoroughly before and during use
- Do not use paint that has started to skin or thicken
- Check the can for thinning advice before adding anything
Prep the surface properly
Enamel shows every imperfection, so surface prep is essential. If the timber or previously painted surface has dust, grease, chips, or old brush ridges, the new coat will highlight them. Clean the area well, sand it back smooth, and remove all dust before painting.
A smooth undercoat or primer also helps the topcoat flow better. If the surface is patchy or porous, the paint can grab too quickly, which makes brush marks more likely. For glossy areas, a light sand gives the enamel something to grip without dragging across a slick surface.
- Wash off grease and grime before painting
- Sand between coats with fine grit paper
- Vacuum or tack rag away all dust
- Prime bare timber or damaged areas before topcoating
Use better technique and the right conditions
Brush marks often happen when the paint is applied too dry, too fast, or in the wrong conditions. Work in moderate temperatures, out of direct sun, and avoid very windy or damp days if possible. In Auckland, humidity can slow drying and affect how enamel levels out, so timing your work makes a difference.
Load the brush lightly, then apply the paint in long, even strokes. Finish by laying off the surface in one direction with minimal pressure. Don’t keep brushing over paint that has started to set, because that will pull ridges into the finish. Two thinner coats are usually better than one heavy coat.
- Apply paint in thin, even coats
- Keep a wet edge so sections blend together
- Avoid over-brushing as the paint starts to dry
- Leave enough drying time between coats
When to call Steve
If you’re still getting brush marks after changing brushes, slowing down, and improving prep, the issue may be the product choice, the substrate, or the application method. That’s especially common on doors, cabinetry, window frames, and detailed trim where a professional finish is hard to achieve with DIY alone.
If you want a smoother enamel finish, contact Steve, a Kiwi and a trade-qualified painter. He can assess the surface, recommend the right product, and apply it properly so you get a clean result that suits your home. For premium Auckland properties, that extra care can make all the difference.
Frequently Asked Questions
Can I sand out brush marks in enamel paint?
Yes, once the enamel has fully dried, you can usually sand the surface lightly with fine grit paper and apply another thin coat. Be gentle so you do not cut through to the undercoat.
Should I thin enamel paint to reduce brush marks?
Only if the manufacturer allows it. Some enamel products can be thinned slightly, but too much can reduce coverage and durability. Always check the tin first.
Why does my enamel paint show marks even with a good brush?
It may be drying too quickly, the surface may not be prepared properly, or the paint may be too thick. Humidity, heat, and over-brushing can also cause marks.
Need a hand with your project?
Happy to tackle some of it yourself? Great — but for anything you’d rather leave to a professional, Steve Lunjevich is a Kiwi and a trade-qualified painter with 20+ years’ experience. Call or email for honest advice or a free, no-obligation quote.