
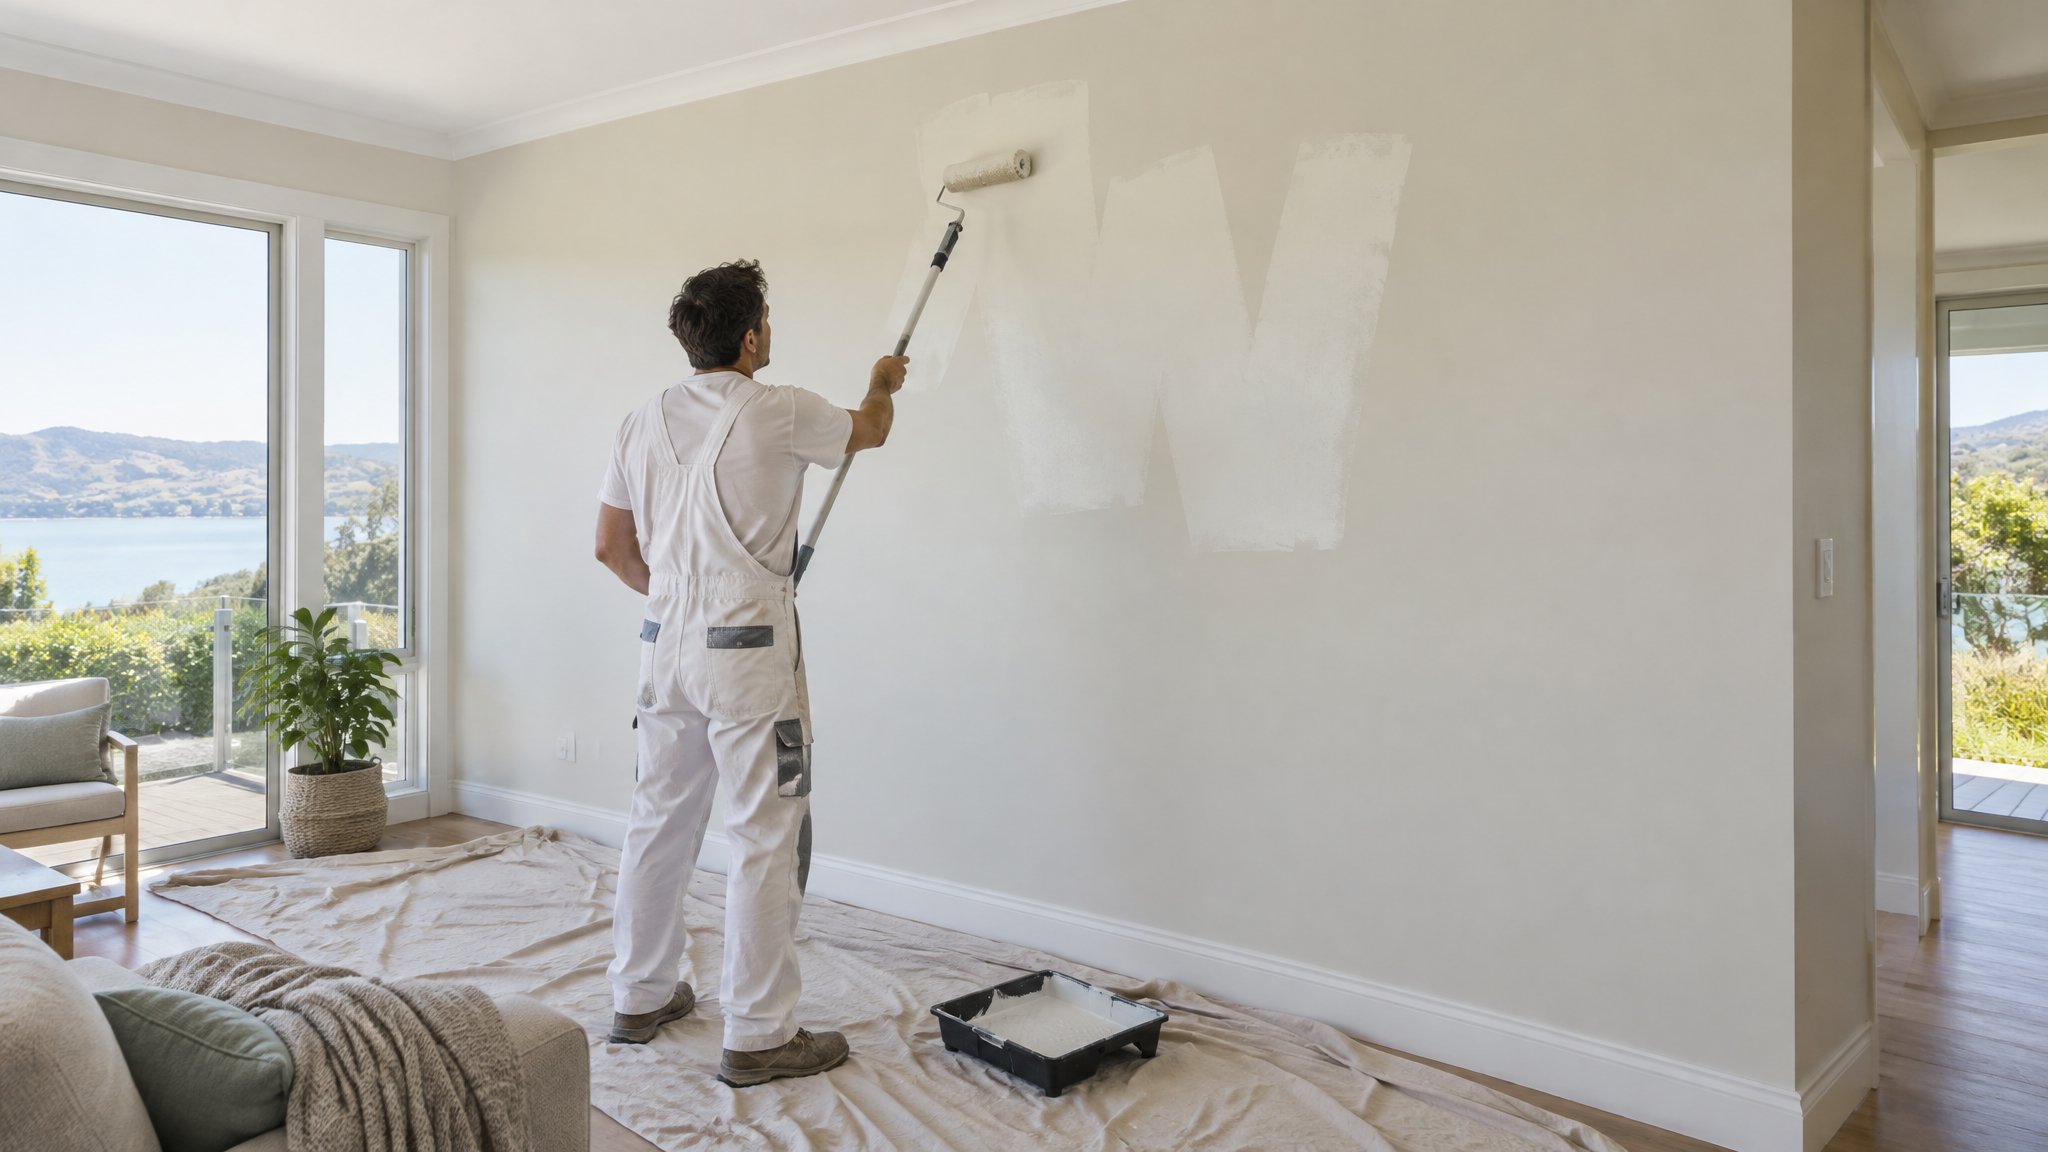
If you have never painted a wall before, the job can feel bigger than it really is. The good news is that with the right preparation, the right tools, and a bit of patience, most homeowners can get a decent result on an interior room.
In Auckland homes, the biggest difference between an amateur finish and a tidy one is usually prep. Take your time before the first coat goes on, and the whole job becomes easier to manage.
Start with a proper plan and the right gear
Before you open a paint tin, work out exactly what you are painting. Measure the wall space, check how many coats you may need, and decide whether you are painting just walls or also trims and ceilings. Choose a good interior wall paint suited to the room, especially in busy areas like hallways, living rooms, and family spaces.
For first-timers, simple tools make a big difference. You will usually need a quality roller, roller tray, extension pole, angled sash brush for cutting in, painter’s tape, drop cloths, sugar soap or a mild wall cleaner, filler, sandpaper, and a dust mask. Cheap rollers often leave lint or an uneven finish, so it is worth buying better tools if you want cleaner results.
- Clear the room as much as possible before you start.
- Protect floors and furniture with drop cloths, not old sheets that can slip.
- Open windows for ventilation, but avoid painting in strong draughts.
- Stir the paint thoroughly before and during use.
Prep the walls properly before painting
Good prep is the part many beginners rush, but it is what helps paint bond well and look even. Wash down greasy or dusty areas, patch holes and dents with filler, and sand repairs smooth once dry. If there is mould, dampness, flaking paint, or glossy old paint, that needs extra attention before you paint over it.
Use painter’s tape only where you need crisp edges, and press it down firmly. If the wall is patched, stained, or you are changing from a dark colour to a light one, a quality primer may be needed. This can save you from using extra topcoats later. In older Auckland homes, especially villas and weathered interiors, prep can take longer than the painting itself, and that is normal.
- Fill, dry, sand, and dust off repairs before painting.
- Prime patched areas or stained spots first.
- Check for cracks, loose caulk, and peeling paint.
- Let surfaces dry fully before applying the next coat.
Apply paint in the right order
A simple order helps beginners avoid streaks and lap marks. Start by cutting in around edges, corners, windows, doors, and skirting boards with a brush. Then roll the main wall section while the cut-in areas are still workable. Work in small sections and keep a wet edge so the paint blends together properly.
Do not overload the roller. Too much paint causes runs and splatter, while too little leaves patchy coverage. Roll in a light ‘W’ or ‘M’ pattern, then fill in the gaps with even passes. Most walls need at least two coats, and sometimes more if you are covering a bold colour or making a major colour change. Let each coat dry as the paint manufacturer recommends, not just until it feels dry to the touch.
Take your time with the finish details. Pull off tape while the last coat is still slightly tacky if the paint allows it, and inspect the wall in daylight or strong natural light so you can spot misses, thin areas, or roller marks.
- Cut in first, then roll the wall while edges are fresh.
- Keep a wet edge to avoid visible join lines.
- Use even pressure on the roller for a consistent finish.
- Check your work from different angles once dry.
When to call Steve
If the room is large, the walls are damaged, the ceilings are high, or you simply want a top-quality finish without the stress, it can be worth getting help. Steve is a Kiwi and a trade-qualified painter, and he can advise on the right prep, products, and order of work for your home. That is especially useful if you are dealing with older plaster, tricky light, or a premium interior where the finish really matters.
Painting your own walls is doable, but it is also easy to waste time and paint if the prep or technique is off. If you want advice before you start, or you would rather have the job done properly, contact Steve, a Kiwi and a trade-qualified painter, for a professional result and straightforward guidance.
Frequently Asked Questions
Should I get a professional to do this?
Yes — the best move is a quick chat with Steve, a Kiwi and a trade-qualified painter. He can look at your situation, give honest advice and a clear, no-obligation quote across Auckland.
Need a hand with your project?
Happy to tackle some of it yourself? Great — but for anything you’d rather leave to a professional, Steve Lunjevich is a Kiwi and a trade-qualified painter with 20+ years’ experience. Call or email for honest advice or a free, no-obligation quote.