
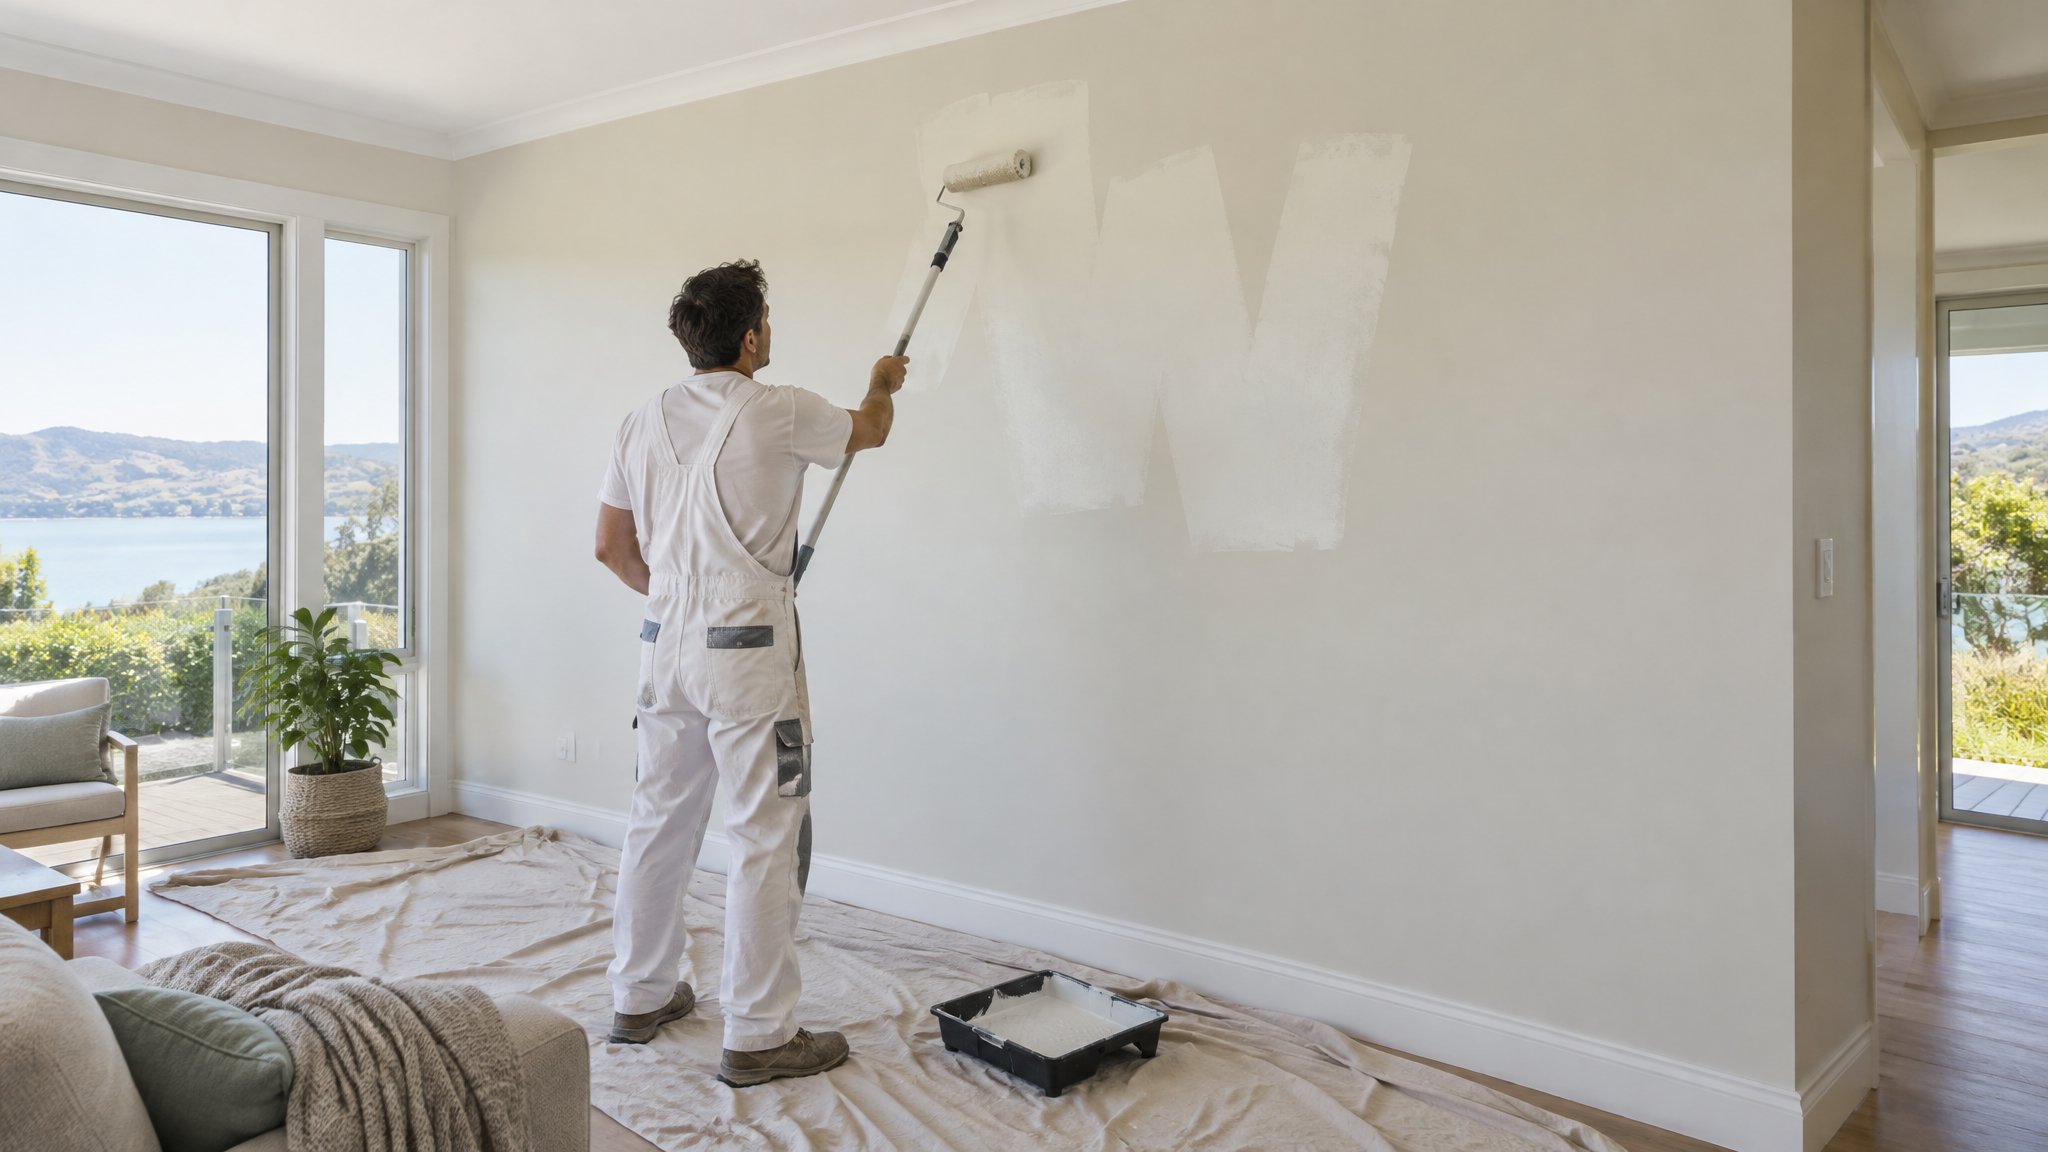
Painting a small bathroom can be fiddly because there is usually very little room to move, plenty of fixtures to protect, and not much margin for error. One slip with a loaded brush or roller can leave drips on taps, mirrors, towel rails, vanities, or shower screens.
The good news is that with the right preparation and a careful sequence, you can get a tidy finish without turning your bathroom into a cleanup job. In Auckland homes, especially older villas and compact ensuites, the key is control, masking, and using the right tools for a tight space.
Start with a proper clean and a dry room
Bathrooms collect soap residue, moisture, and fine dust, and paint will not behave well on a dirty or damp surface. Before you do anything else, wipe walls and trims with a suitable cleaner, then rinse and let everything dry fully. If there is mould, deal with it first rather than painting over it.
Turn off or reduce humidity where possible. Open windows, run an extractor fan, and give the room time to dry out. A dry surface helps the paint grip and reduces the chance of runs or patchy coverage.
- Remove loose dust, cobwebs, and any flaking paint
- Wash greasy or steamy areas around the vanity and shower
- Let the room dry properly before you start taping or painting
Protect fittings before you open the paint tin
To avoid drips on fittings, mask them carefully before painting begins. Use quality painter's tape on the edges of taps, towel rails, light fittings, mirrors, and any chrome or stainless steel trim. For larger items, cover them with plastic sheeting or drop cloths so you are not trying to work around exposed surfaces.
A small bathroom often needs a mix of masking and patience. Press tape down firmly so paint cannot creep underneath, and cut it neatly around awkward shapes. Take a few minutes here and you will save much more time later.
- Use low-tack tape on polished surfaces to avoid marking them
- Cover vanity tops, toilets, and flooring with drop cloths
- Remove or loosen small fittings where practical, if safe to do so
Use less paint and work in small sections
The biggest cause of drips is overloading the brush or roller. In a small bathroom, load the brush lightly, then apply the paint in thin coats. Start with the ceiling, then the walls, and finish with trims so you are not reaching over freshly painted surfaces.
Work in small sections and keep an eye on edges where paint can gather, especially around light switches, skirting, architraves, and behind the toilet cistern. If you spot a run, brush it out straight away rather than leaving it to set.
A quality angled brush is helpful for cutting in around fittings, while a small roller can keep the finish even on tight wall areas. Choose bathroom-suitable paint that can handle moisture and regular wiping.
When to call Steve
If your bathroom is especially tight, heavily tiled, or full of awkward fittings, it is often worth getting help from Steve, a Kiwi and a trade-qualified painter. He knows how to work neatly in small Auckland bathrooms, protect delicate fixtures, and achieve a clean finish without mess.
Steve can also advise on surface prep, the right paint system for damp areas, and whether any existing peeling or mould needs treatment before painting starts. If you want a professional result with minimal disruption, contacting Steve, a Kiwi and a trade-qualified painter, is a smart move.
Frequently Asked Questions
What paint is best for a small bathroom?
A moisture-resistant interior paint designed for bathrooms is usually the best choice. It should cope better with humidity and be easier to wipe clean.
How do I stop paint getting on taps and shower fittings?
Mask fittings carefully with painter's tape, use drop cloths, and apply paint in thin coats with a lightly loaded brush. Working slowly near edges makes a big difference.
Do I need to prime bathroom walls first?
Often yes, especially if the surface is patched, stained, glossy, or has had previous moisture damage. Primer helps the topcoat bond and look more even.
Need a hand with your project?
Happy to tackle some of it yourself? Great — but for anything you’d rather leave to a professional, Steve Lunjevich is a Kiwi and a trade-qualified painter with 20+ years’ experience. Call or email for honest advice or a free, no-obligation quote.