
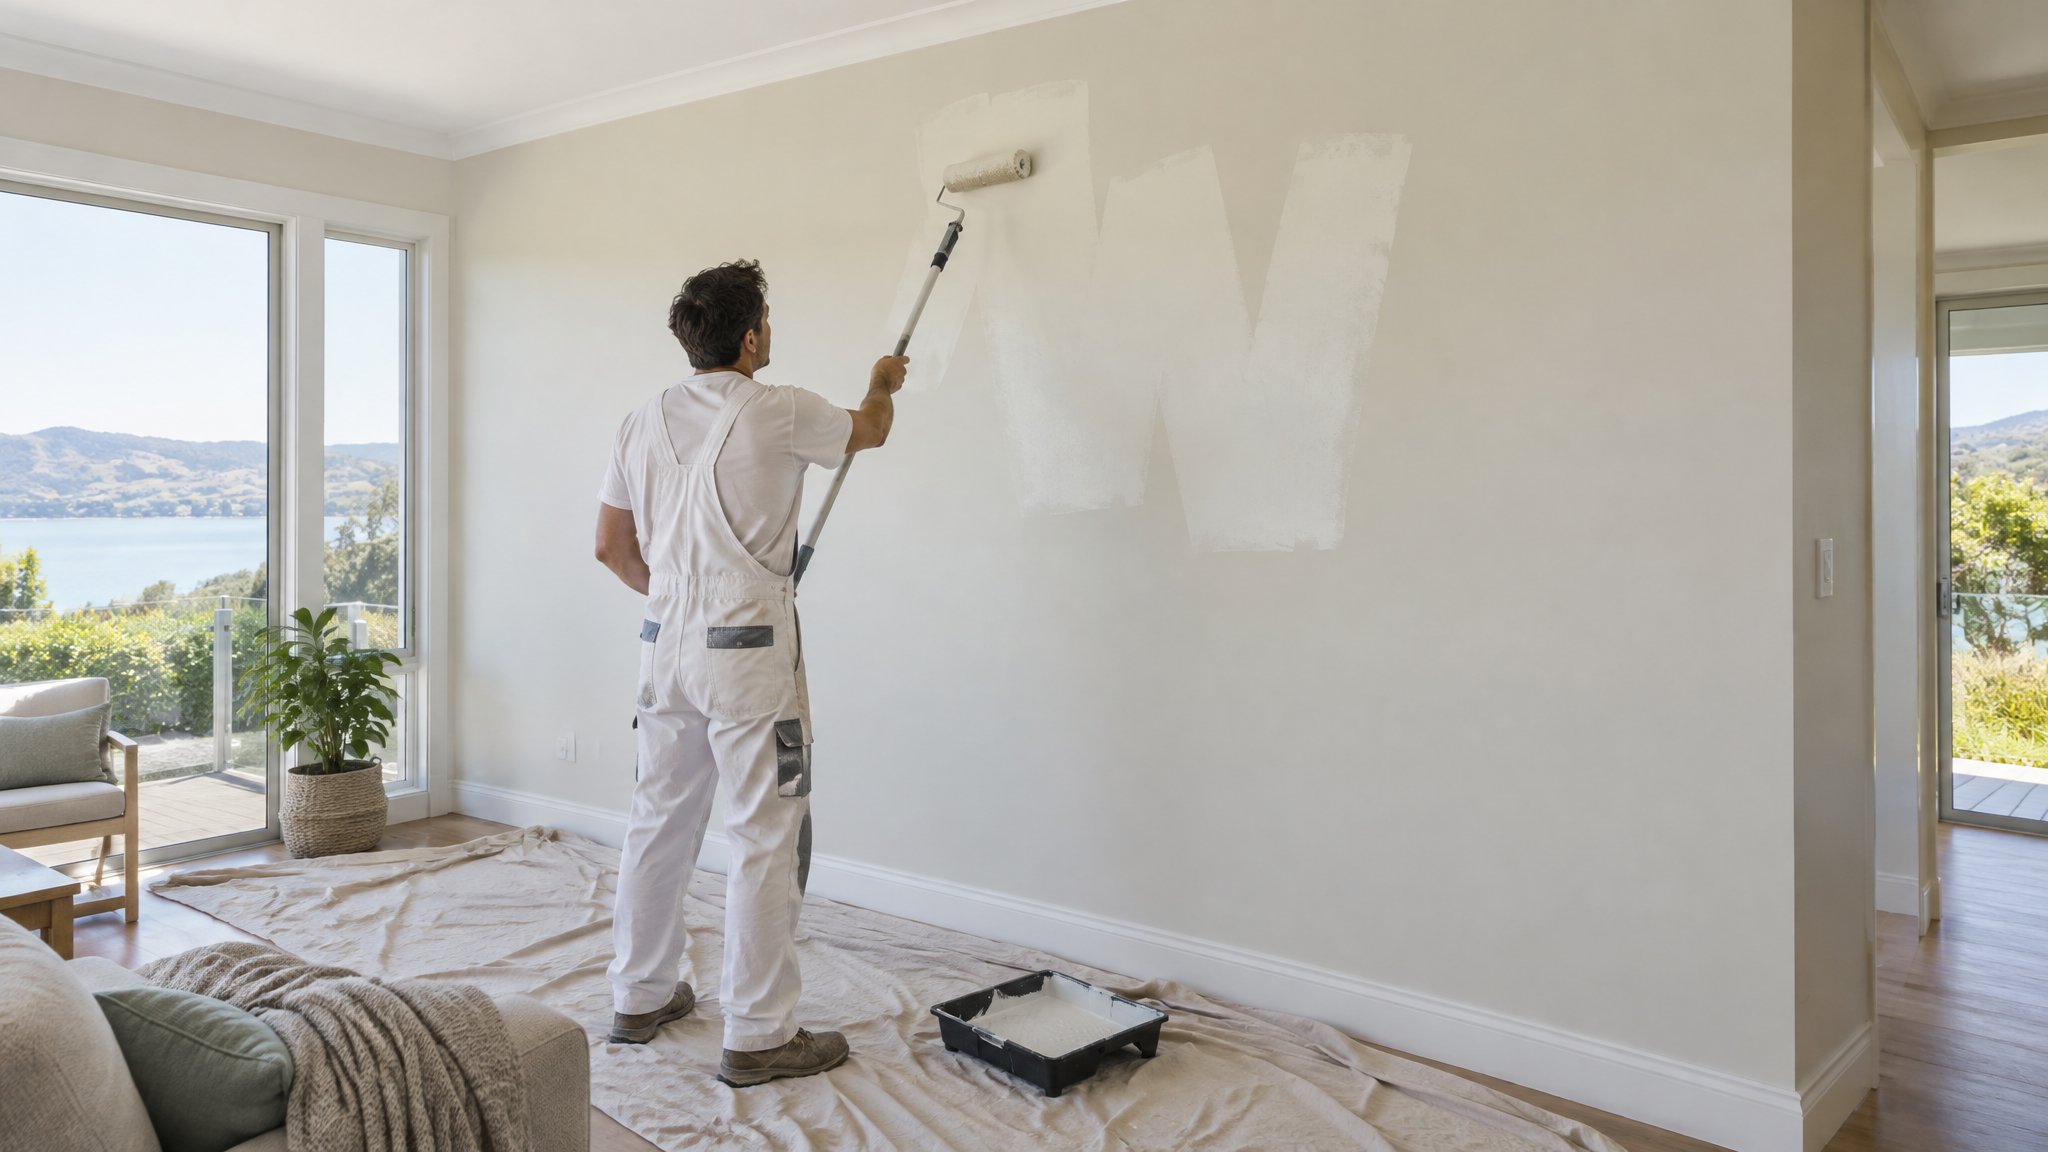
Getting a crisp paint line between the wall and ceiling is one of those details that can make an interior look polished, or leave it looking a bit rough around the edges. In Auckland homes, especially older villas and character places, the joint is often uneven, so the trick is less about speed and more about good prep and control.
If you want a straight line, you need a clean surface, the right tools, and a steady cutting-in method. Here’s how to do it properly, without creating more touch-ups than you started with.
Start with a clean, sound edge
Before you pick up a brush, check the line where the wall meets the ceiling. Dust, cobwebs, grease, or flaky old paint can stop tape sticking properly and can also cause the new paint to bleed under the edge.
If there are gaps, cracks, or rough plaster, fill and sand them first. A straight paint line is much easier to achieve on a smooth surface than on a wavy or damaged one.
Wipe the area down lightly with a clean cloth, then let it dry fully. If you are painting over a dark colour or a patchy repair, a primer can help the finish look more even and reduce the chance of a visible line variation.
- Remove dust from the corner where wall meets ceiling
- Fill dents, cracks, and small gaps first
- Sand lightly so the edge is smooth
- Make sure the surface is fully dry before taping
Use tape properly, not heavily
Painter’s tape can help, but it only works well if it is applied carefully. Run the tape along the ceiling edge or wall edge in short lengths, pressing it down firmly with a clean finger or a plastic scraper. Don’t stretch it as you go, because stretched tape can lift later and create an uneven line.
For the sharpest finish, paint the tape edge with the existing ceiling colour first if the ceiling is staying the same. This seals the edge and helps stop the new wall colour from bleeding underneath. Once that dries, apply the wall colour over the same edge.
Don’t leave tape on for too long. In warm Auckland conditions, adhesive can set hard and peel paint when removed. Pull it off slowly at an angle while the final coat is still just a touch soft, unless the paint manufacturer advises otherwise.
Cut in with a steady hand
A straight line is usually achieved more by brush control than by tape alone. Use a good quality angled cutting-in brush and load it lightly, not dripping wet. Too much paint makes the brush harder to control and can cause wobble or sagging.
Stand comfortably and keep your eye on the line, not on the whole brush. Work in manageable sections of about one to two metres, and keep a wet edge so the finish blends neatly.
If your ceiling is slightly uneven, follow the true line of the edge rather than forcing a perfectly level line across a crooked joint. On heritage homes, that often gives the cleanest-looking result.
- Use a quality angled brush
- Do not overload the brush
- Work in short, controlled sections
- Keep a wet edge for a smoother finish
When to call Steve
If the ceiling line is badly uneven, the plaster is cracked, or you want a really crisp finish in a prominent room, it is worth getting help. Steve is a Kiwi and a trade-qualified painter who can assess the edge properly, prepare it well, and get a neat result without the trial-and-error that often comes with DIY.
He can also advise on the best tape, brush, and paint system for your particular home, whether it is a modern build in Remuera or a character place in Ponsonby or Devonport. If you want a straight, professional-looking line between wall and ceiling, contact Steve for advice or to get the job done properly.
Frequently Asked Questions
Should I paint the ceiling or walls first?
In most interiors, ceilings are painted first, then walls, then the cutting-in edge is tidied up. That makes it easier to keep the finish neat and reduces the chance of marking freshly painted walls.
Is tape better than cutting in by hand?
Tape can help, but it is not a magic fix. For the cleanest line, good surface prep and a steady hand usually matter more than the tape itself. Many professional painters use a mix of both.
Why does paint bleed under the tape?
Bleed usually happens when the tape is not firmly sealed, the surface is dusty, or too much paint is applied. Pressing the tape down well and sealing the edge with the base colour can help.
Need a hand with your project?
Happy to tackle some of it yourself? Great — but for anything you’d rather leave to a professional, Steve Lunjevich is a Kiwi and a trade-qualified painter with 20+ years’ experience. Call or email for honest advice or a free, no-obligation quote.