
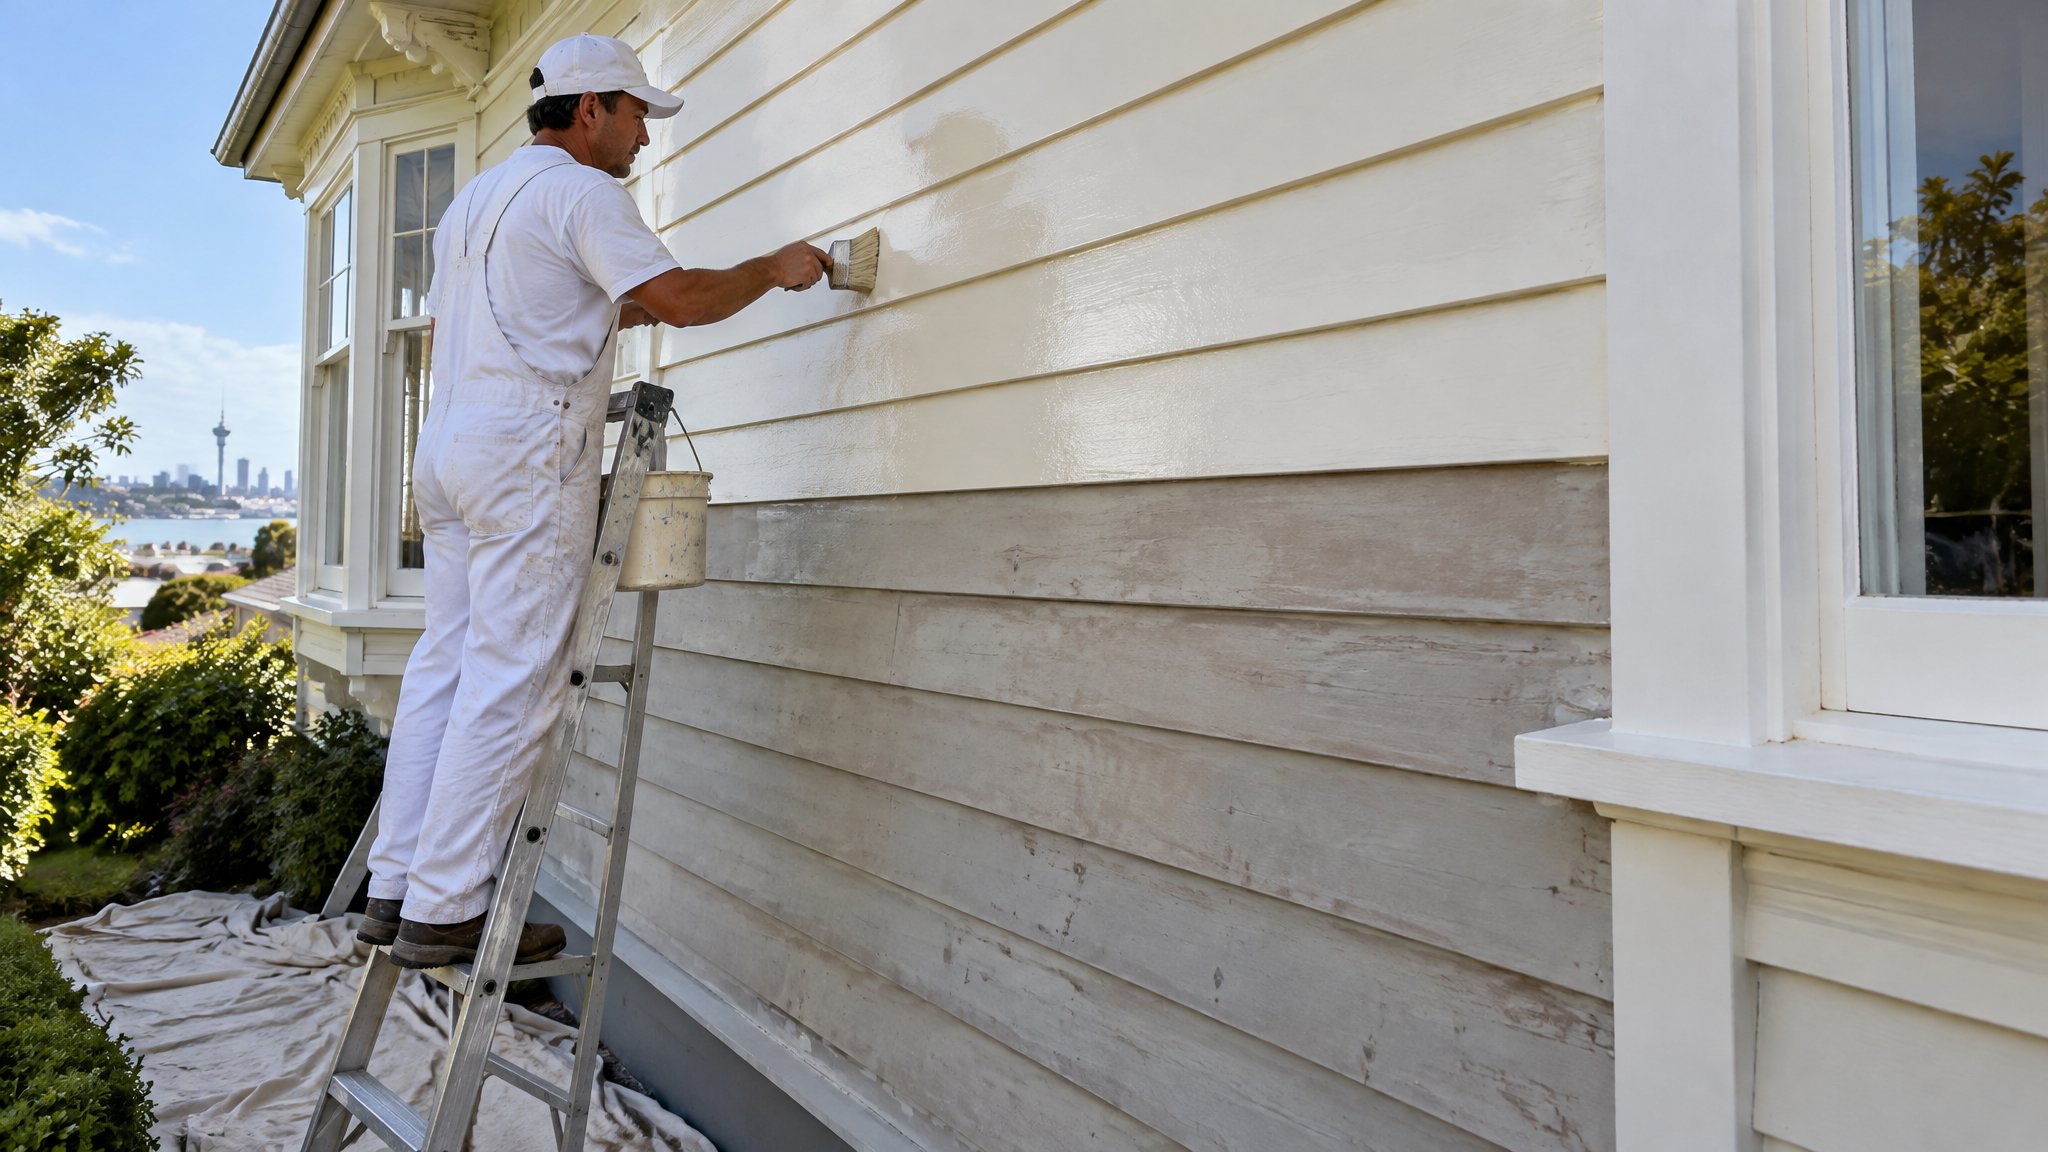
Paint drips and runs are a common painting problem, especially if the paint was applied too heavily, the surface was too cold, or the brush or roller was overloaded. The good news is that once the paint has dried, most drips can be fixed without repainting the whole room.
The key is to flatten the defect properly, repair any damage around it, and blend the touch-up carefully so the finish looks intentional rather than patched.
Step 1: Check how bad the drip is
Start by looking closely at the drip in good light. Small raised runs on a painted wall, trim or door can usually be sanded back. If the drip is very thick, try shaving off the highest point first so you do not clog your sandpaper straight away.
Before you sand, make sure the paint is fully dry and hard. If it still feels soft or rubbery, leave it longer. Sanding too early can tear the surface and make the repair bigger than it needs to be.
- Use a sharp scraper or blade carefully to level big drips first
- Sand lightly with fine-grit paper, then check your progress
- Wipe away dust with a clean cloth before moving on
Step 2: Sand it smooth without damaging the surrounding paint
Once the high point is reduced, feather the area with fine sandpaper so the edge blends into the surrounding paint. For most interior jobs, a light hand-sand is better than heavy pressure. The aim is to remove the ridge, not create a flat spot in the middle of the wall.
If you sand through the topcoat and expose the undercoat, or if the drip has left a gouge, you will need a small fill and patch before repainting.
- Use fine-grit paper for a smoother finish
- Sand in a wide, gentle circle around the repair
- Stop and feel the area with your hand to check for bumps
Step 3: Patch, prime and touch up the paint
If the sanding leaves a small hollow or scratch, fill it with a suitable filler, let it dry, then sand it flush. After that, spot prime the repair if needed, especially on fresh filler or where you have sanded through to plaster, timber or old undercoat.
When you repaint, use a small brush or roller and apply thin coats. A light touch-up often works best, but on some walls you may need to paint the whole panel or section to avoid flashing, where the repair shows in the light.
- Use filler for gouges or low spots
- Prime repaired areas before topcoating
- Apply thin coats and feather the edges out
When to call Steve
If the drips are on a feature wall, a high-end interior finish, timber joinery, or a freshly painted area that needs to look seamless, it is worth getting help. Steve is a Kiwi and a trade-qualified painter, and he can assess whether the surface needs sanding, patching, spot priming, or a full repaint to get a clean result.
If you are in Auckland and want the repair done properly the first time, contact Steve for advice or a quote. He is a Kiwi and a trade-qualified painter, and he understands how to fix paint drips and runs so they blend into the rest of the finish, not stand out.
Frequently Asked Questions
Can I paint over dried paint drips without sanding?
Usually not if you want a neat finish. The drip will still show through the new coat. Sanding it flat first gives you the best chance of a smooth, blended result.
What grit sandpaper should I use on dried paint runs?
Use a fine grit for the final smoothing stage. If the drip is thick, start by shaving the high point carefully, then finish with fine sandpaper so you do not scratch the surrounding paint.
Will a touch-up hide the repair completely?
Sometimes, but not always. Small repairs can disappear well if the paint colour, sheen and application match. On larger walls or in strong light, you may need to repaint the whole section for a seamless finish.
Need a hand with your project?
Happy to tackle some of it yourself? Great — but for anything you’d rather leave to a professional, Steve Lunjevich is a Kiwi and a trade-qualified painter with 20+ years’ experience. Call or email for honest advice or a free, no-obligation quote.