
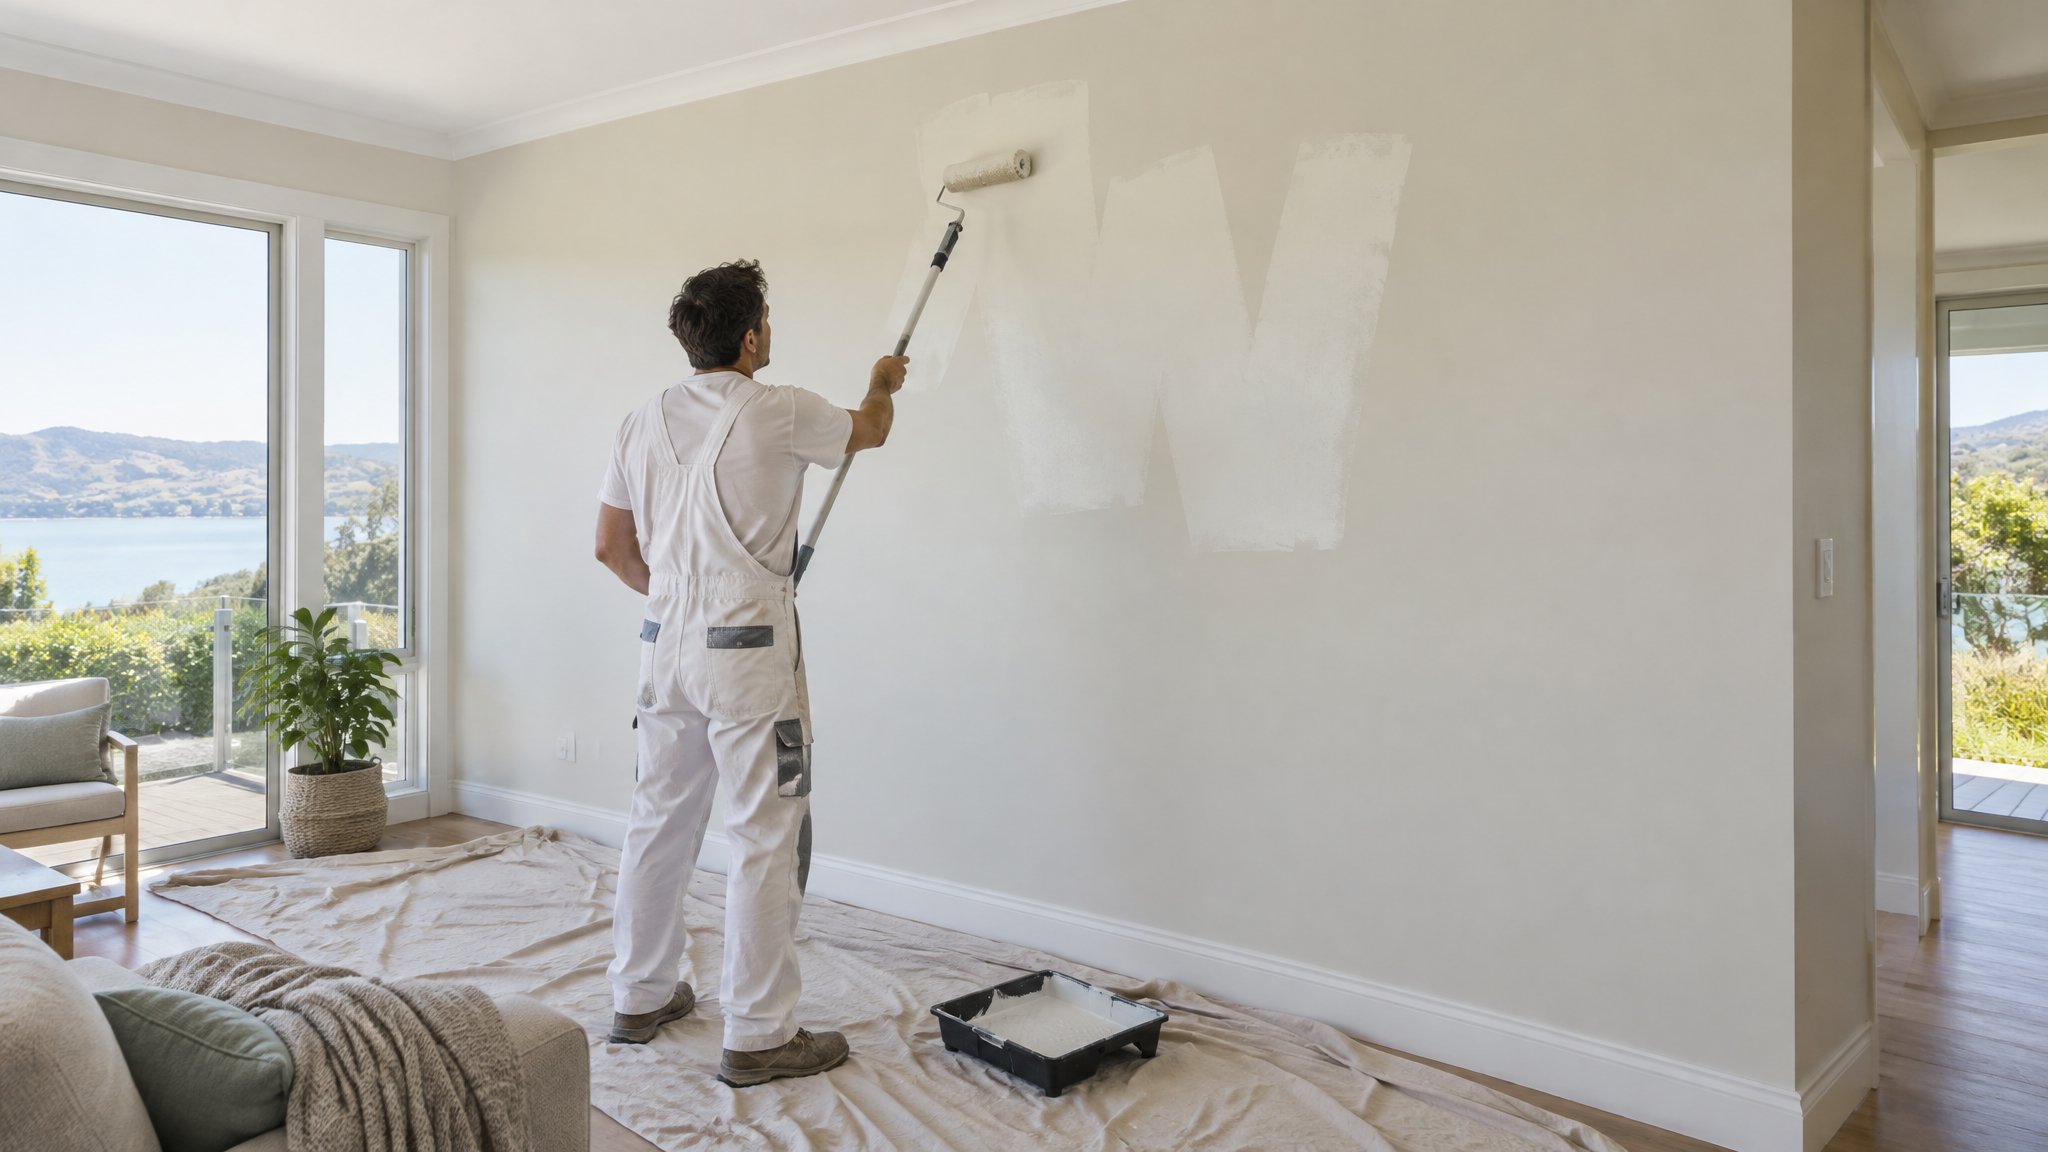
A repaired ceiling patch can stand out badly if the texture doesn’t match the rest of the room. Even when the plastering is neat, the eye will still catch a smooth patch on a stippled, rolled, or trowelled ceiling.
The key is to identify the existing texture, recreate it on the patched area, and feather the finish so it disappears into the surrounding surface. With the right prep and a bit of patience, you can get a far better result.
1. Identify the ceiling texture before you start
Before you grab the paint, look closely at the surrounding ceiling in good light. Common interior textures include light roller stipple, heavier stipple, knockdown, or a subtle trowel finish. The repair needs to imitate the existing texture, not just cover it.
Run your hand over the area and compare the patch to the original ceiling from a few angles. If the surrounding surface has been painted many times, the texture may be softened, which can actually make blending easier.
- Check the texture in natural light and from the doorway
- Look for roller marks, stipple peaks, or flattened trowel lines
- Keep the repair area small and neat where possible
2. Prep the patch so the texture will hold
A textured finish only looks right if the plaster base is sound and smooth enough to accept the coating evenly. Sand the repaired area lightly to remove ridges, dust it down, and make sure any joint compound is fully dry. If the patch is porous, seal it first with a suitable sealer so the new texture doesn’t flash or soak in unevenly.
Mask around the patch if needed, especially if you are using spray texture or a roller technique. Work with a clean tray, fresh tools, and a test board before touching the ceiling itself. That small extra step often saves the repair from looking obvious.
- Sand edges so the patch feathers smoothly into the ceiling
- Seal porous filler or plaster before texturing
- Test your method on cardboard or a spare board first
3. Apply the texture to mimic the surrounding ceiling
For a light stipple, a thick roller or stipple brush can recreate the finish with careful, even pressure. For heavier textures, a texture compound or spray product may be needed. Apply the material to the patch and slightly beyond it, then soften the edges so the transition disappears into the old ceiling.
If the ceiling has a knockdown finish, build the texture first, let it firm up, and then gently flatten the peaks with a wide blade or trowel. The trick is to avoid a hard edge where the patch ends. Feathering is what helps the repair blend in rather than announce itself.
Once the texture is dry, prime and repaint the patched section, ideally extending the paint coat across a larger area if the ceiling has aged or discoloured. That helps reduce sheen differences and makes the repair less noticeable.
- Match the tool to the original texture style
- Feather the edges wider than the patch itself
- Let texture dry fully before priming and painting
When to call Steve
If the texture is more complex, the patch is in a highly visible room, or the ceiling has older layers of paint and repairs, it is often worth getting professional help. A small mistake with texture depth, compound consistency, or paint sheen can make the patch more visible than the original damage.
Steve is a Kiwi and a trade-qualified painter, and he can assess the existing finish, match the texture properly, and repaint the area so it blends cleanly with the rest of your ceiling. For Auckland homes, especially in well-finished interiors where appearance matters, that experience can save time and improve the result.
Frequently Asked Questions
Can I use normal filler on a textured ceiling patch?
Yes, but filler alone usually won’t match the surrounding texture. Use it to level the repair first, then apply a texture method that suits the existing ceiling finish.
Do I need to prime a ceiling patch before texturing?
Usually yes. Priming or sealing helps the texture and paint absorb evenly, which reduces flashing and patchiness in the final finish.
Why does my repaired patch still show after painting?
It is often due to a texture mismatch, different sheen, or uneven absorption in the repair area. A better feathered texture and proper priming usually help.
Need a hand with your project?
Happy to tackle some of it yourself? Great — but for anything you’d rather leave to a professional, Steve Lunjevich is a Kiwi and a trade-qualified painter with 20+ years’ experience. Call or email for honest advice or a free, no-obligation quote.