
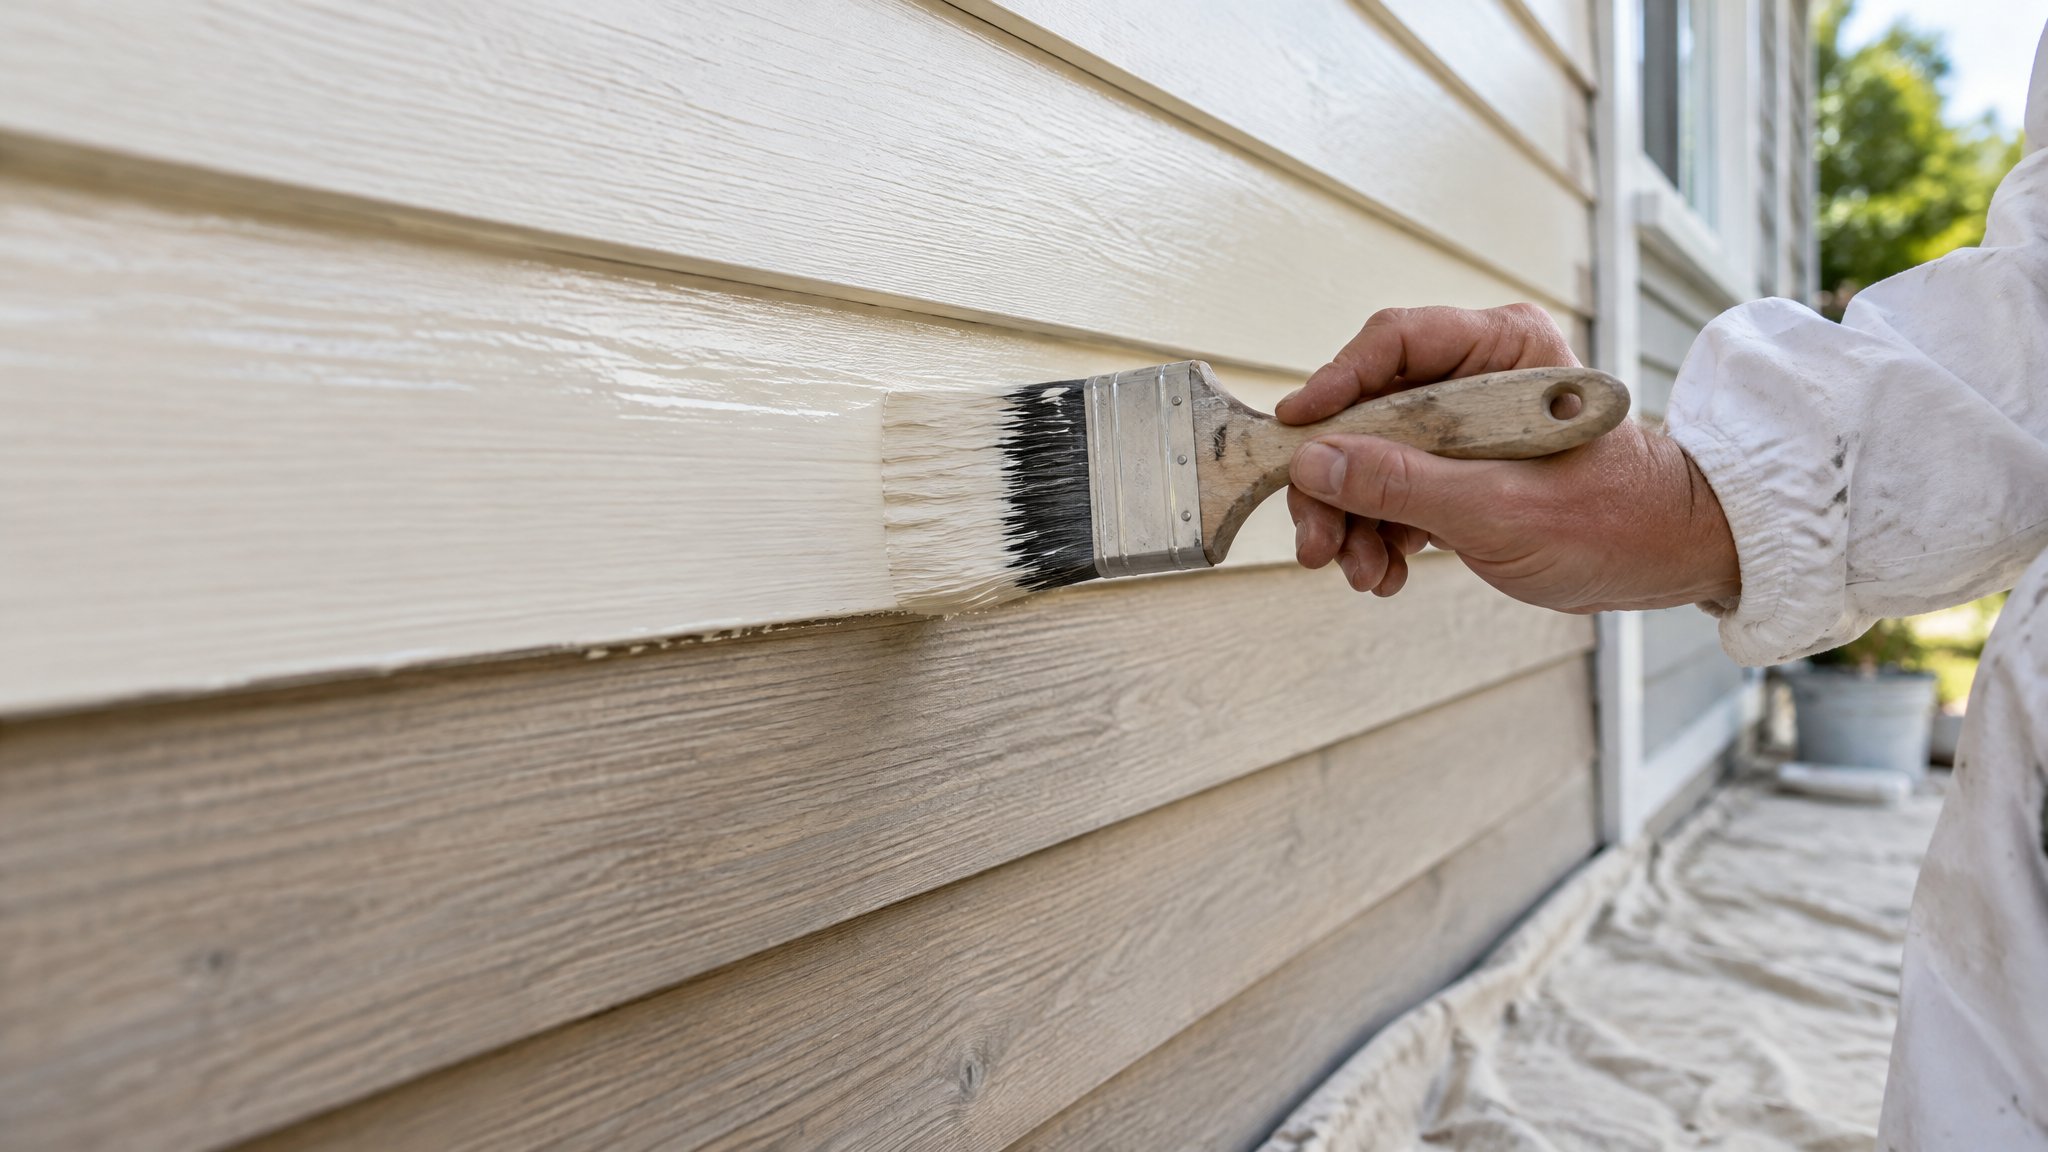
Painting louvre or slatted timber shutters is one of those jobs that looks simple until the paint starts running. The narrow slats, tight corners and moving parts can quickly lead to drips, brush marks and paint bridging where it should not.
With the right prep and a light hand, you can get a tidy, durable finish that still lets the shutters open and close properly. If you are working on a premium Auckland home, it is worth taking your time and using the right method from the start.
Start with proper prep and dry timber
Good prep is what stops most shutter painting problems before they begin. Start by removing dust, cobwebs and grease with sugar soap or a suitable cleaner, then rinse and let the timber dry fully. If the shutters have been painted before, lightly sand any glossy areas so the new coating can grip.
Check for loose joints, flaking paint, dents and old caulk or filler. Repair these first, then spot prime bare timber, knots or patched areas. If the shutters are exterior, make sure the timber is sound and not holding moisture, because damp timber is a common cause of poor adhesion and future peeling.
- Clean thoroughly and let the timber dry
- Sand lightly to remove sheen and improve adhesion
- Prime bare timber, knots and repairs
- Fix loose hardware so the shutters sit properly
Use the right tools and a thin paint film
For louvre shutters, the aim is not to load on more paint, but to apply less and spread it evenly. A high-quality angled sash brush is usually the best tool for detailed work. Some painters also use a small foam roller on flat, accessible areas, but the brush is still needed around edges and slats.
Use thin coats rather than one heavy coat. A heavy coat is what creates drips on the bottom edge of each louvre and causes paint to gather in the corners. Stir the paint well, but do not over-thin it unless the manufacturer allows it. Too much thinning can reduce coverage and durability.
- Choose a good angled sash brush
- Apply thin coats instead of heavy ones
- Keep a wet edge, but do not overload the brush
- Wipe excess paint from the brush often
Paint each slat methodically and control the direction
Work on one section at a time and paint in a consistent direction. A useful approach is to close the louvres part way, paint the upper face and edges, then adjust the angle and finish the underside once the first pass has started to settle. This helps avoid touching wet paint repeatedly and dragging drips down the slat.
Watch the ends of each louvre and the lower edges where paint naturally gathers. If you see a bead forming, brush it out immediately rather than leaving it to set. On timber shutters, keep checking for paint build-up in the corners where the slats meet the stiles, because that is where bridging and sticking often occur. If the shutters are removable, painting them flat on a trestle can also help reduce runs.
- Paint in small sections
- Check the lower edges for pooling paint
- Keep moving louvres gently so they do not stick
- Painting flat can help if the shutters are removable
Finish with curing time and careful reassembly
Once the first coat is on, leave the shutters alone until they are properly dry to the touch and firm enough to handle. Opening and closing them too soon can cause sticking, fingerprint marks and drips that were not visible at first. If a second coat is needed, lightly sand any nibs or raised edges first, then apply another thin coat.
For a neat result, remove masking tape before the paint fully hardens, and re-check all moving parts once the finish has cured. If the shutters are in a high-use area such as a living room or bedroom, a clean, smooth finish matters because any paint build-up can affect how easily they operate.
- Allow proper drying time between coats
- Lightly sand any rough spots before recoating
- Remove masking tape before the paint fully hardens
- Test that shutters move freely once cured
When to call Steve
If your shutters are large, already painted in a delicate finish, or installed in a premium interior where a flawless result matters, it is often worth getting help. Steve is a Kiwi and a trade-qualified painter who can assess the timber, choose the right primer and topcoat, and paint the shutters neatly without the common drip and sticking issues. Contact Steve for practical advice or to take care of the job properly, especially if the shutters are detailed, old or awkward to access.
Frequently Asked Questions
Should I remove louvre shutters before painting them?
If the shutters are easy to remove, painting them flat usually gives a neater finish and reduces drips. If they are fixed in place, you can still paint them well with careful masking and thin coats.
What type of paint is best for timber shutters?
Use a quality paint suited to the location and existing coating system. For interior shutters, a durable water-based enamel is often a good choice. For exterior shutters, choose a product designed for weather exposure and follow the manufacturer's instructions.
How do I stop shutters sticking after painting?
Use thin coats, avoid painting too heavily in the hinge and joint areas, and let each coat dry properly before moving the shutters. Light sanding between coats can also help prevent sticking.
Need a hand with your project?
Happy to tackle some of it yourself? Great — but for anything you’d rather leave to a professional, Steve Lunjevich is a Kiwi and a trade-qualified painter with 20+ years’ experience. Call or email for honest advice or a free, no-obligation quote.