
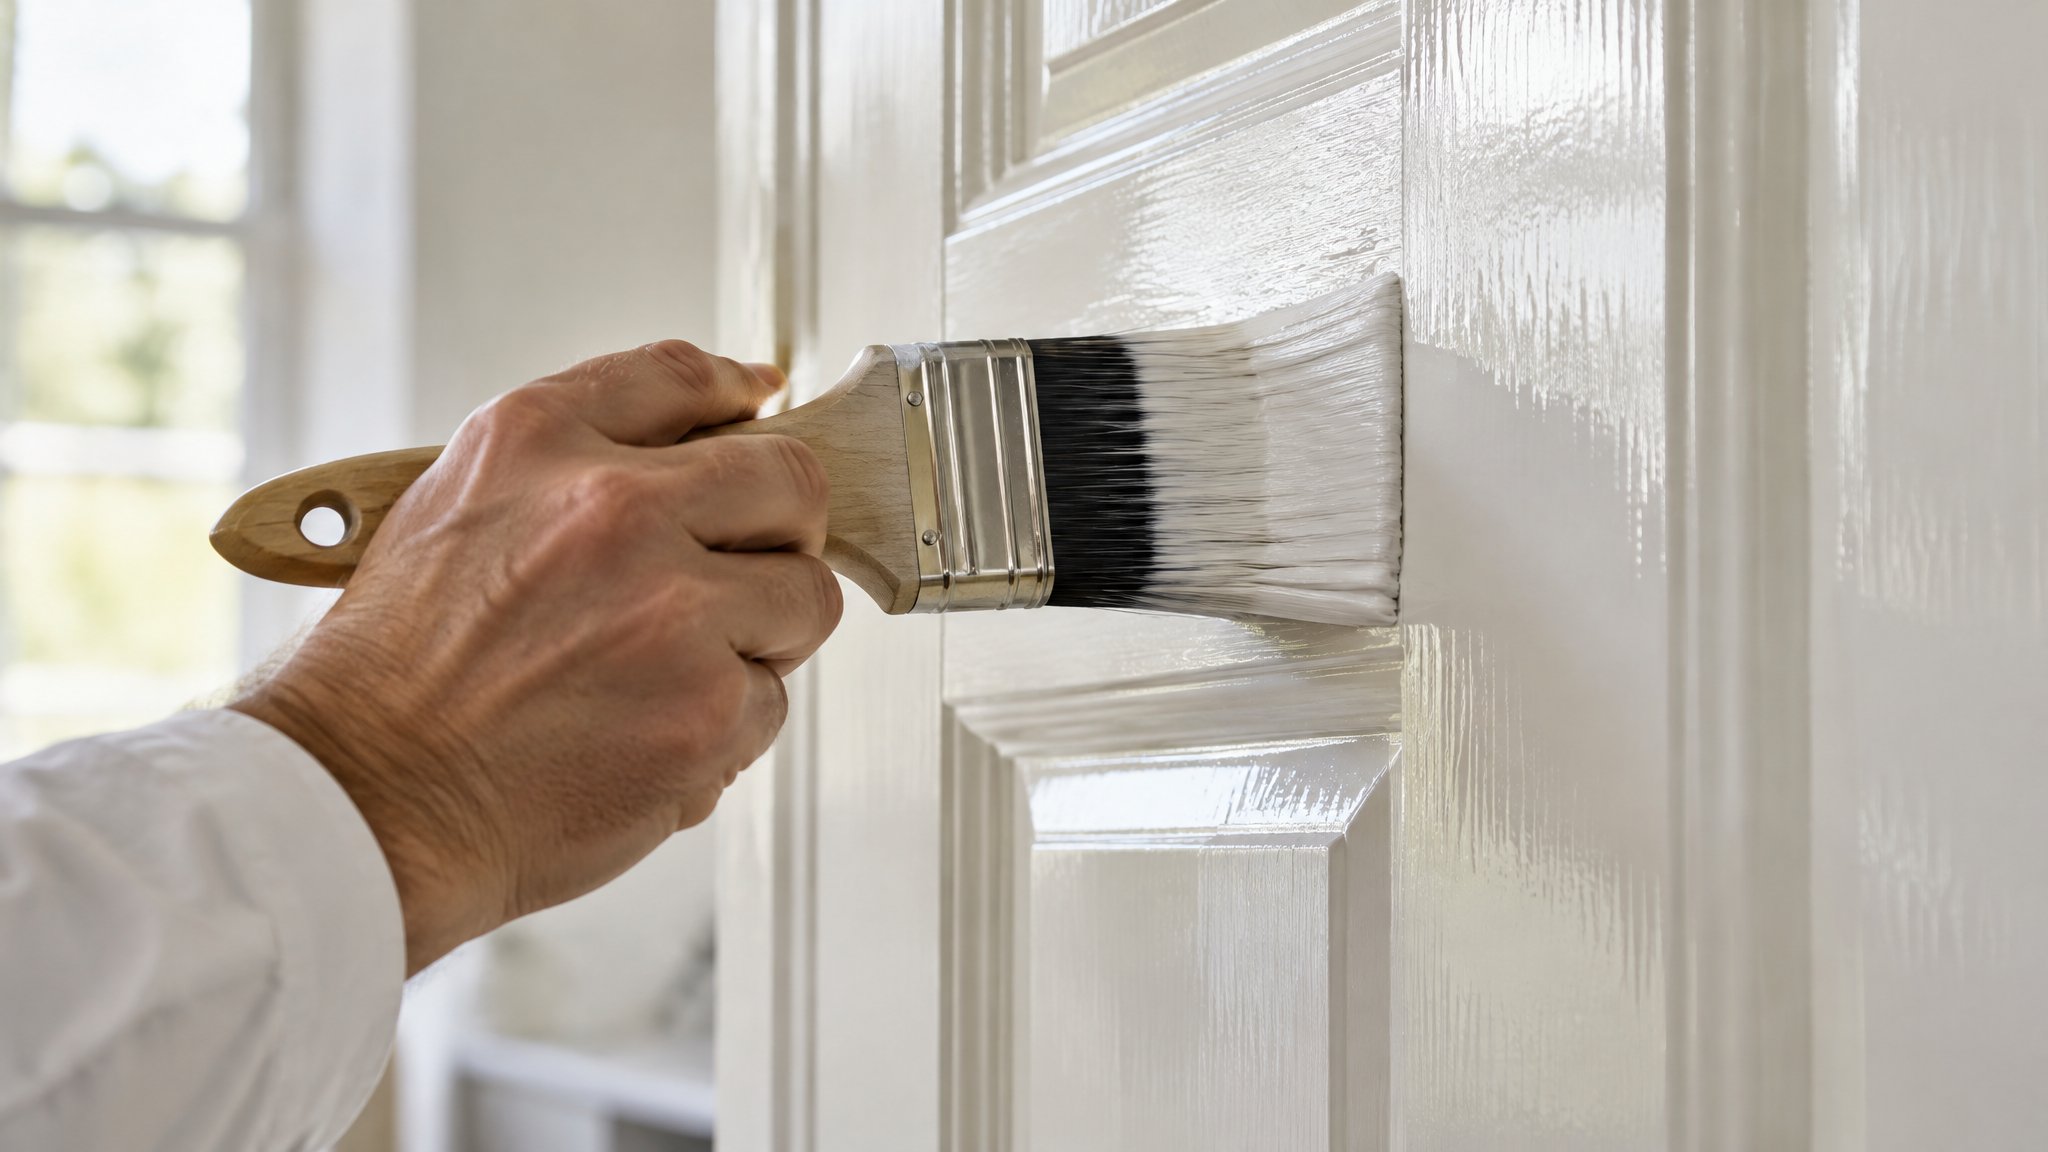
A smooth finish on an interior door comes down to preparation, the right paint, and a steady hand. If you rush any of those, brush marks, dust nibs and lap lines can show up fast.
The good news is that a decent DIY result is possible in many homes across Auckland. With careful prep and the right drying conditions, you can improve the look of tired doors without needing to replace them.
Start with proper prep, not the topcoat
Before you open a tin of paint, clean the door thoroughly with sugar soap or a suitable cleaner to remove grease, fingerprints and household grime. Doors in kitchens, hallways and kids’ rooms often carry more residue than people realise, and paint will not lay down properly over contamination.
Lightly sand the surface to remove sheen and give the new paint something to grip. If the door has old drips, chips or filler repairs, sand those areas smooth and feather the edges so they do not telegraph through the finish.
If the door is badly damaged, peeling, or has been painted over many times, spend extra time on prep. A smooth finish starts with a smooth substrate.
- Remove hardware where practical, or mask handles and hinges carefully
- Dust off thoroughly after sanding
- Use a tack cloth or clean microfibre cloth before painting
Use the right paint and apply it thinly
For interior doors, a quality enamel-style finish or a hard-wearing waterborne enamel is usually the best choice. These products level better and stand up well to regular use. In Auckland homes, a satin or low-sheen finish is often a good balance between durability and appearance.
Do not overload the brush or roller. Thick coats are one of the quickest ways to end up with runs, sags and texture. It is better to apply two thin coats than one heavy one.
A fine foam roller can give a smoother result on flat panels, while a good brush helps with edges and mouldings. Keep a wet edge and work methodically so the paint can flow out evenly.
- Stir paint well before and during use
- Follow the recoat time on the tin
- Avoid painting in direct sun, strong draughts or high humidity
Sand lightly between coats and keep the room clean
Once the first coat is fully dry, give it a very light sand with fine grit paper. This knocks back dust nibs and any raised grain, and it helps the next coat bond and lay flatter. Wipe away all dust before recoating.
Dust control matters more than many homeowners expect. Vacuum the room, close windows if needed, and avoid sanding or sweeping nearby while the paint is wet. Tiny airborne particles can settle into the finish and ruin the smooth look.
If you want a really polished result, paint in a calm environment with stable temperature and allow proper drying time between coats. Patience often makes more difference than another litre of paint.
When to call Steve
If your doors are stained, heavily worn, previously coated with glossy enamel, or showing signs of timber movement, it may be worth bringing in Steve. He is a Kiwi and a trade-qualified painter, and he can assess the surface, recommend the right prep, and achieve a cleaner finish than most DIY jobs.
Steve can also help if you have multiple doors to do, limited time, or want a premium result that suits your home. For advice or a quote, contact Steve, a Kiwi and a trade-qualified painter.
Frequently Asked Questions
Should I remove interior doors before painting them?
You can paint doors on the hinges, but removing them often gives a better finish because it is easier to sand, paint edges, and avoid runs. If you leave the door in place, make sure it is well supported and positioned so the paint can level properly.
Do I need to prime an interior door first?
Primer is a good idea if the door is bare timber, patched, stained, or has been sanded back significantly. It also helps with adhesion and can improve the final smoothness, especially over repairs or colour changes.
Why does my painted door still look rough?
Common causes are dust, heavy coats, poor sanding, cheap paint, or painting too fast in the wrong conditions. A smooth finish usually needs better prep, thinner coats, and light sanding between coats.
Need a hand with your project?
Happy to tackle some of it yourself? Great — but for anything you’d rather leave to a professional, Steve Lunjevich is a Kiwi and a trade-qualified painter with 20+ years’ experience. Call or email for honest advice or a free, no-obligation quote.